07 Sep 2026 - It Turns
07 Sep 2026 - It Turns
Two weeks of PB Blaster soak from the 23 August visit, then out today to pull the starter, give the bores a fresh dose of Kroil, and try the flywheel with a bar.
Short version. The crank moves. A full revolution by hand, for the first time since this project started.
Pulling the starter
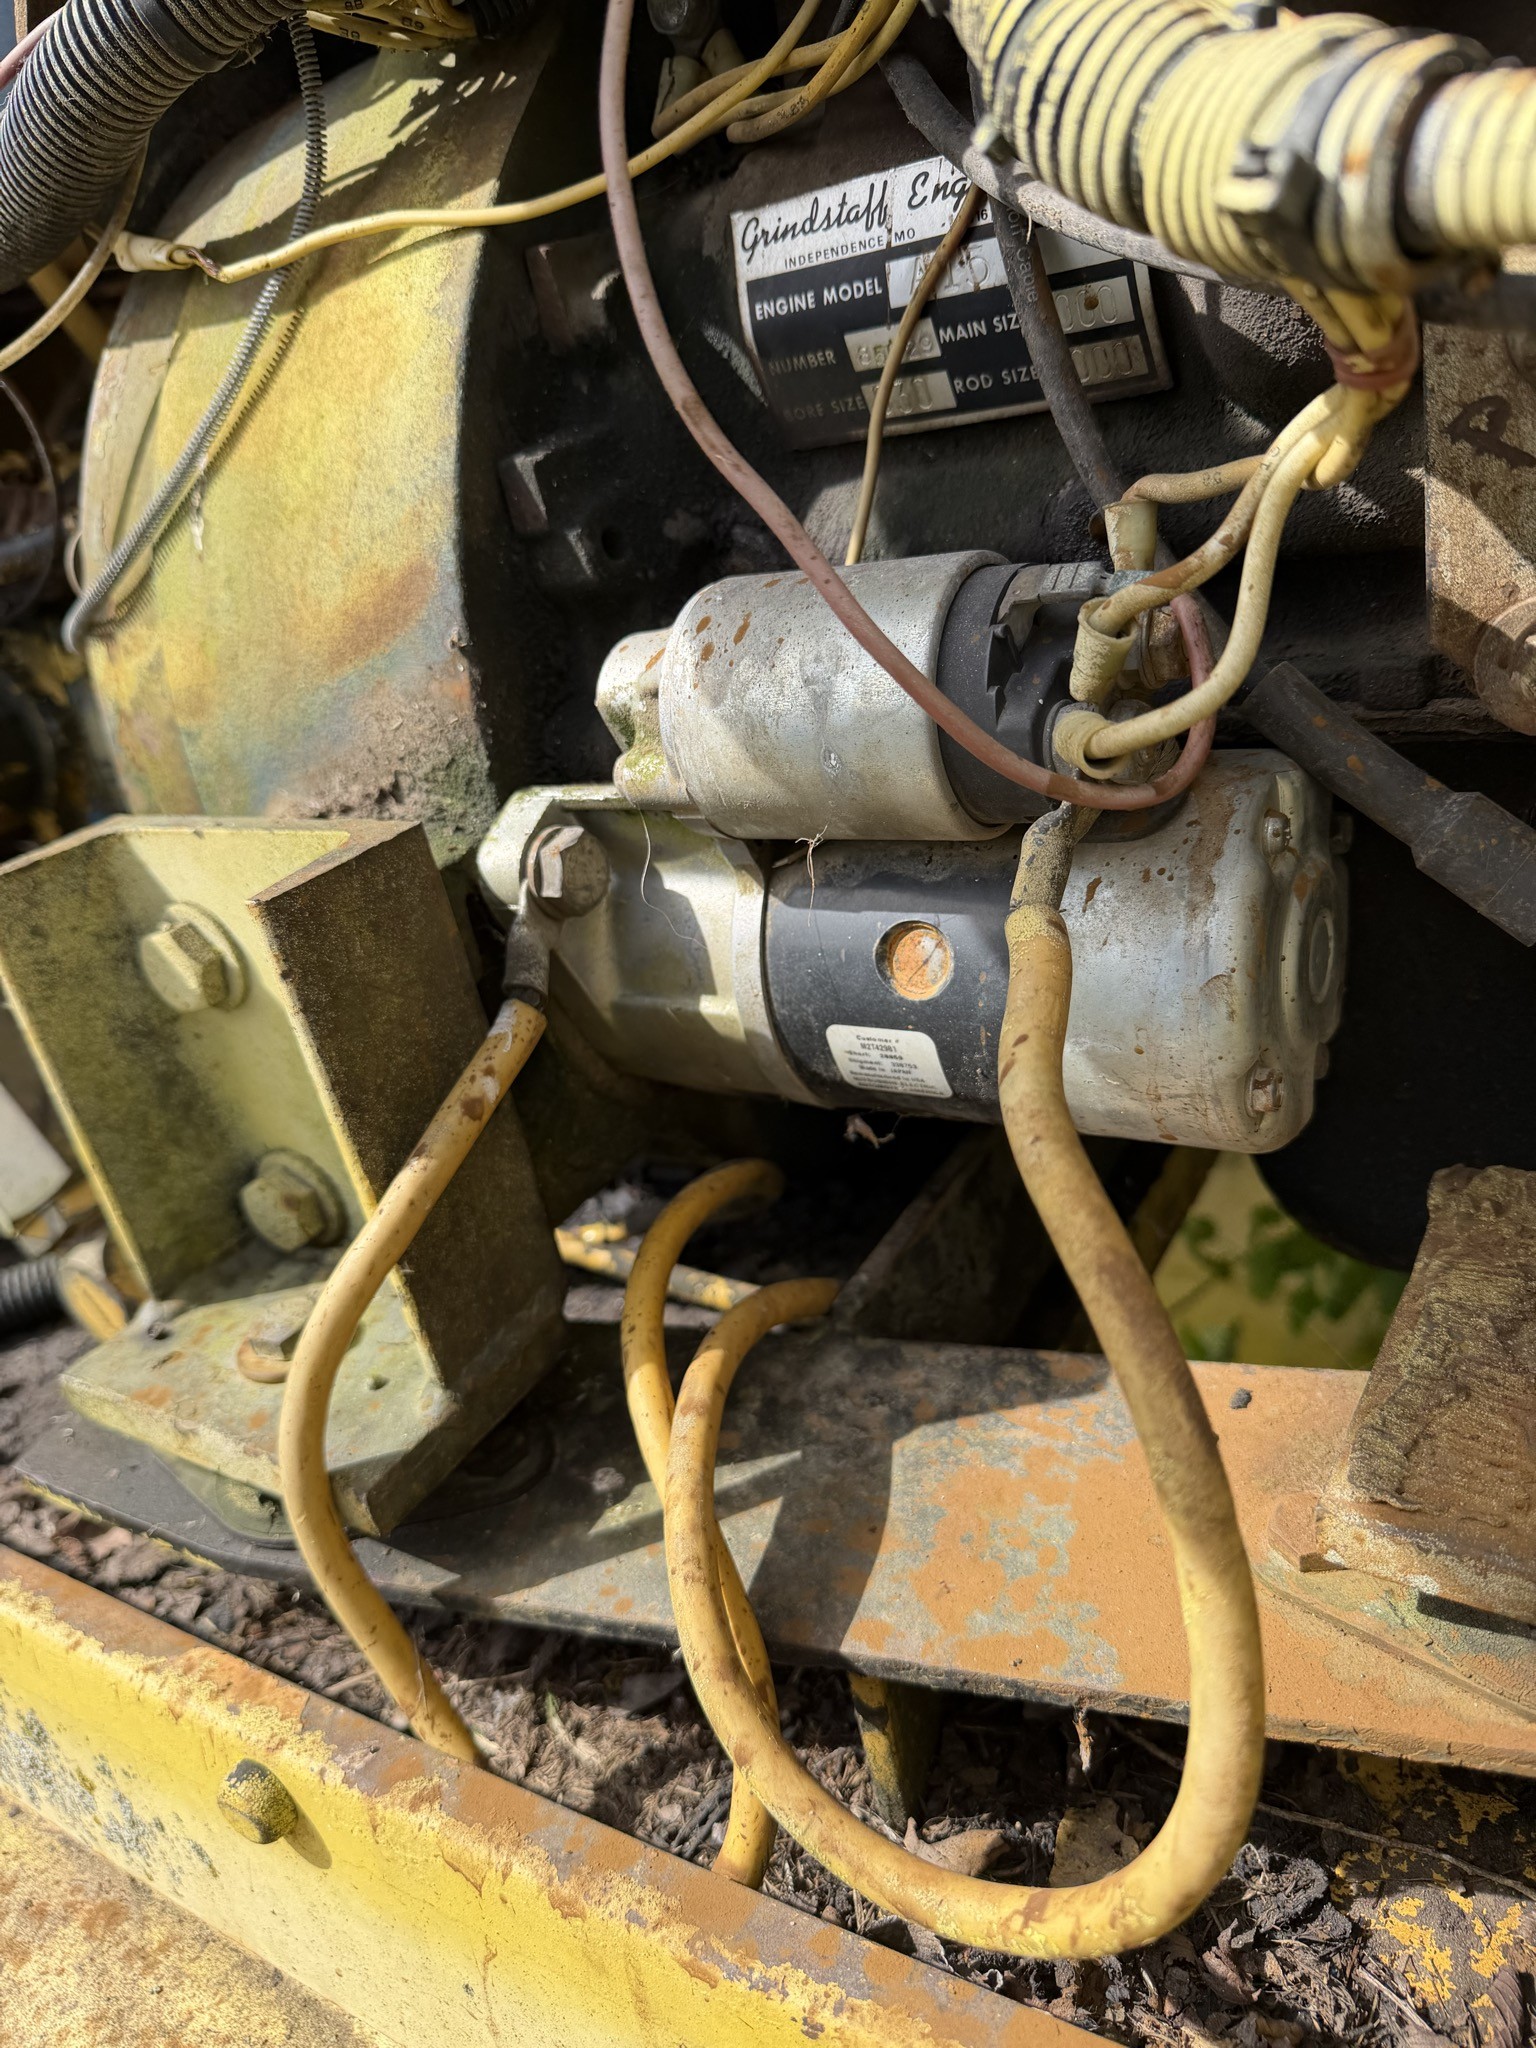
Plugs out first, then the starter, two bolts with 17mm heads.
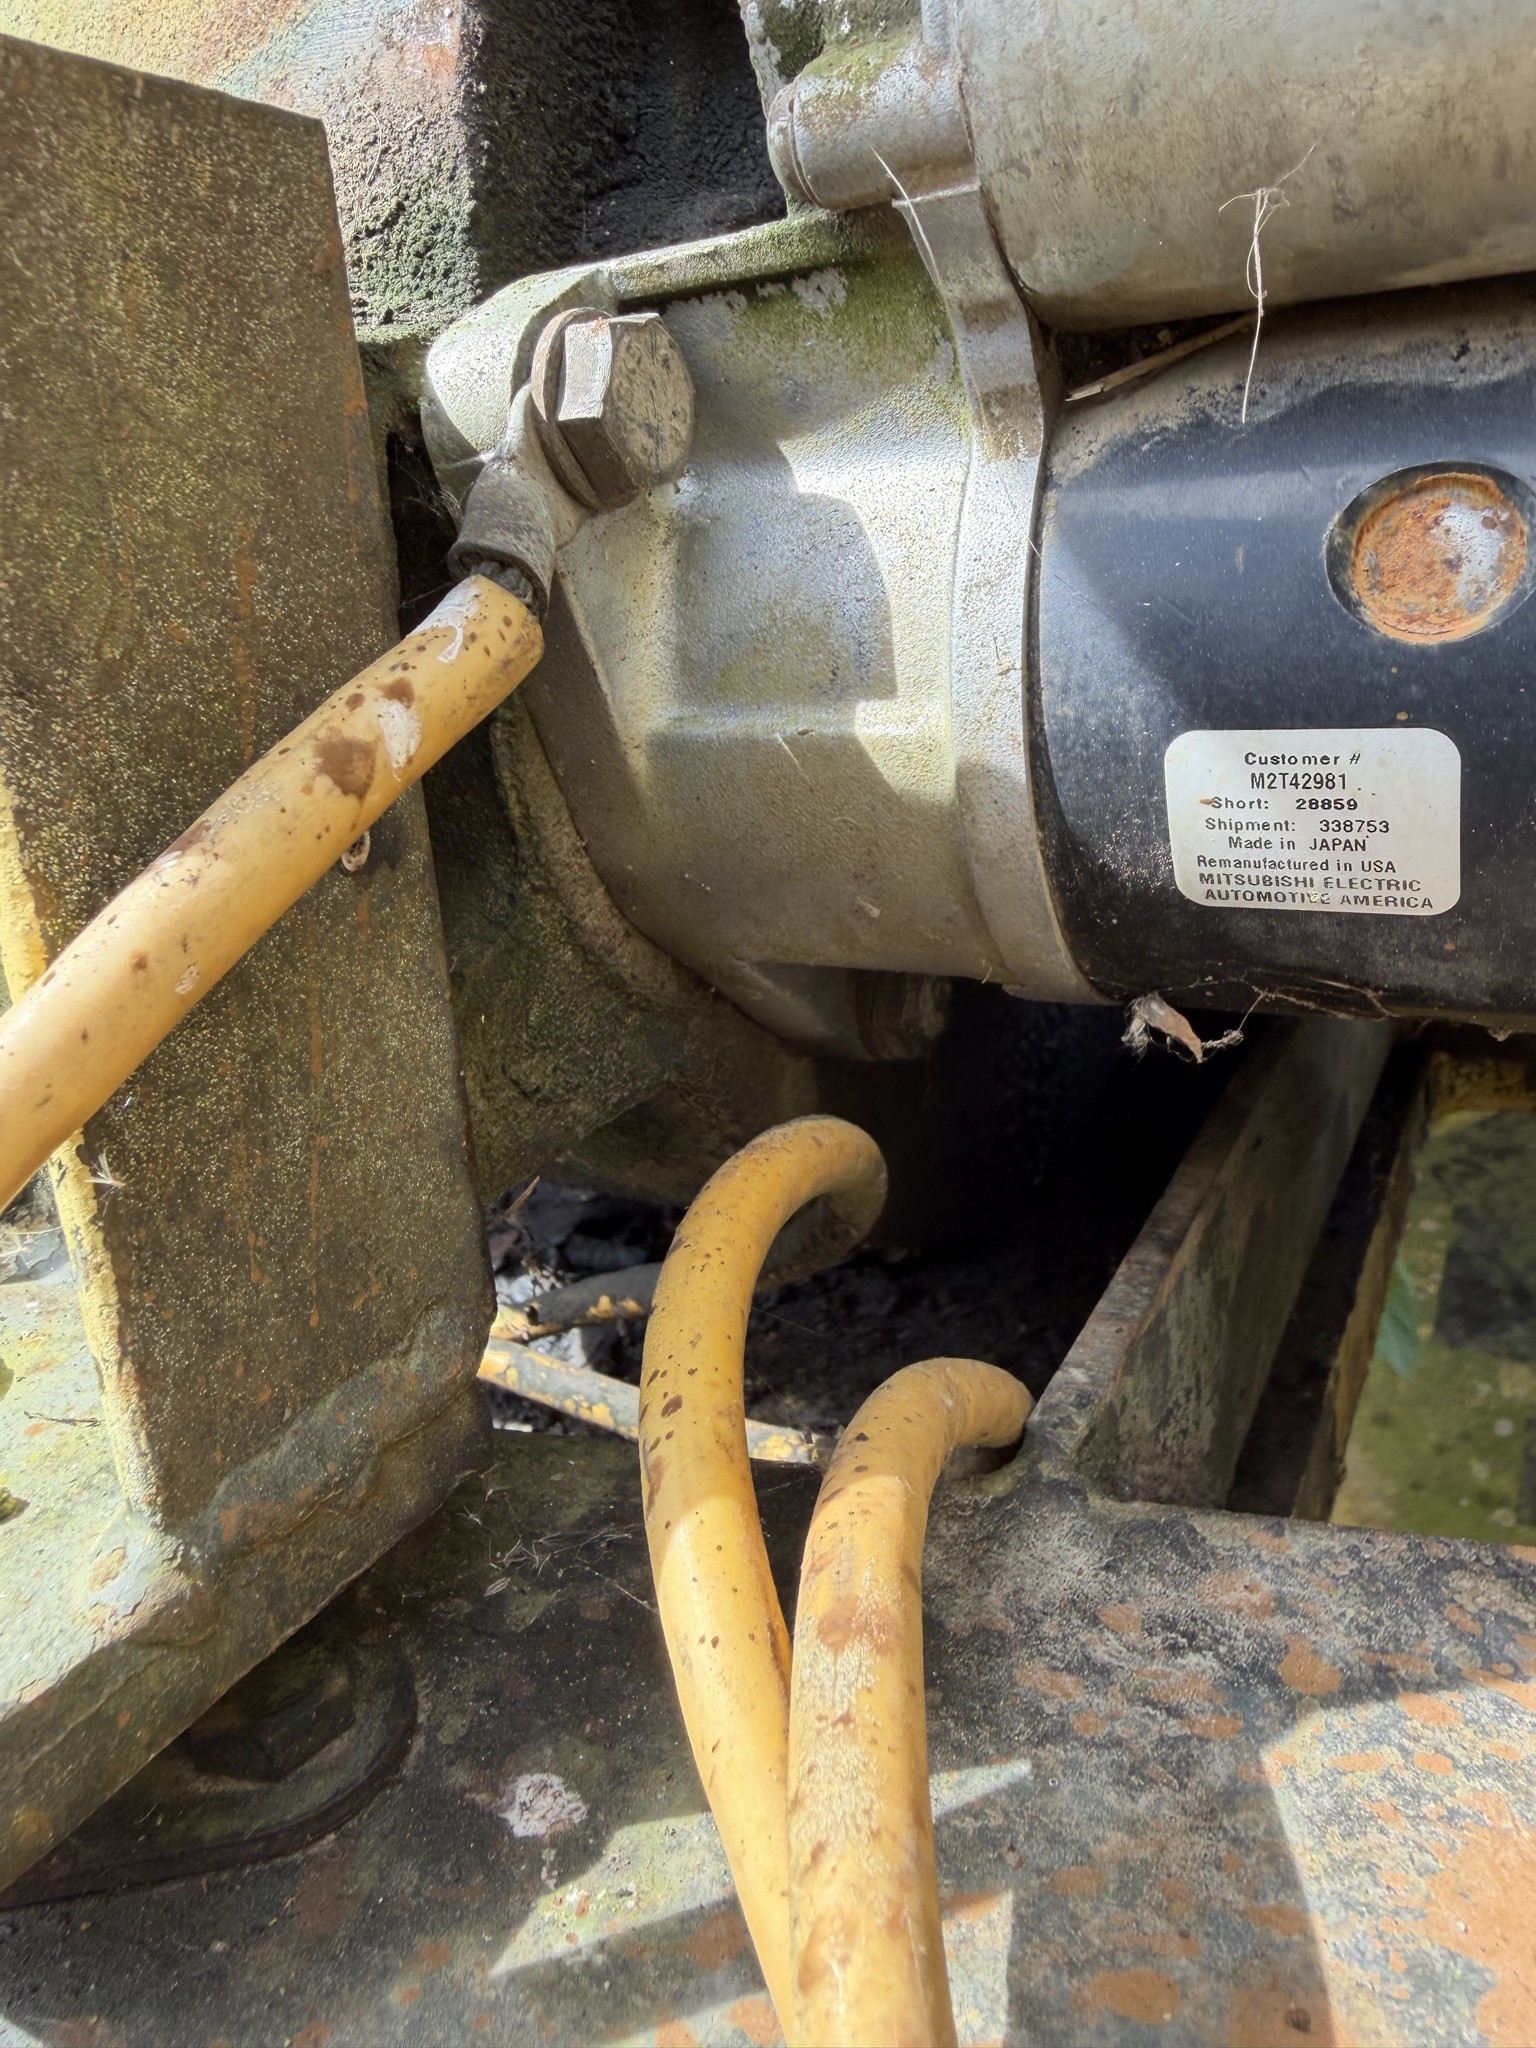
Starter part number, off the tag
Reman Mitsubishi unit, Customer # M2T42981. No manual held in this project carries a starter part number, so this closes a gap the same way the oil filter and fuel filter numbers did. It’s now on Specs under “Numbers taken off the machine itself.” Worth a quick cross-reference against the A15 starter part number before ordering a replacement, since a “remanufactured” tag means this exact unit could be a core-exchange unit built to spec rather than an original-equipment part.
17mm on the two mounting bolts is now on Specs in the “Wrench sizes measured on the machine” table, alongside the crank pulley bolt and drain plug sizes.
Fresh Kroil, then the bar
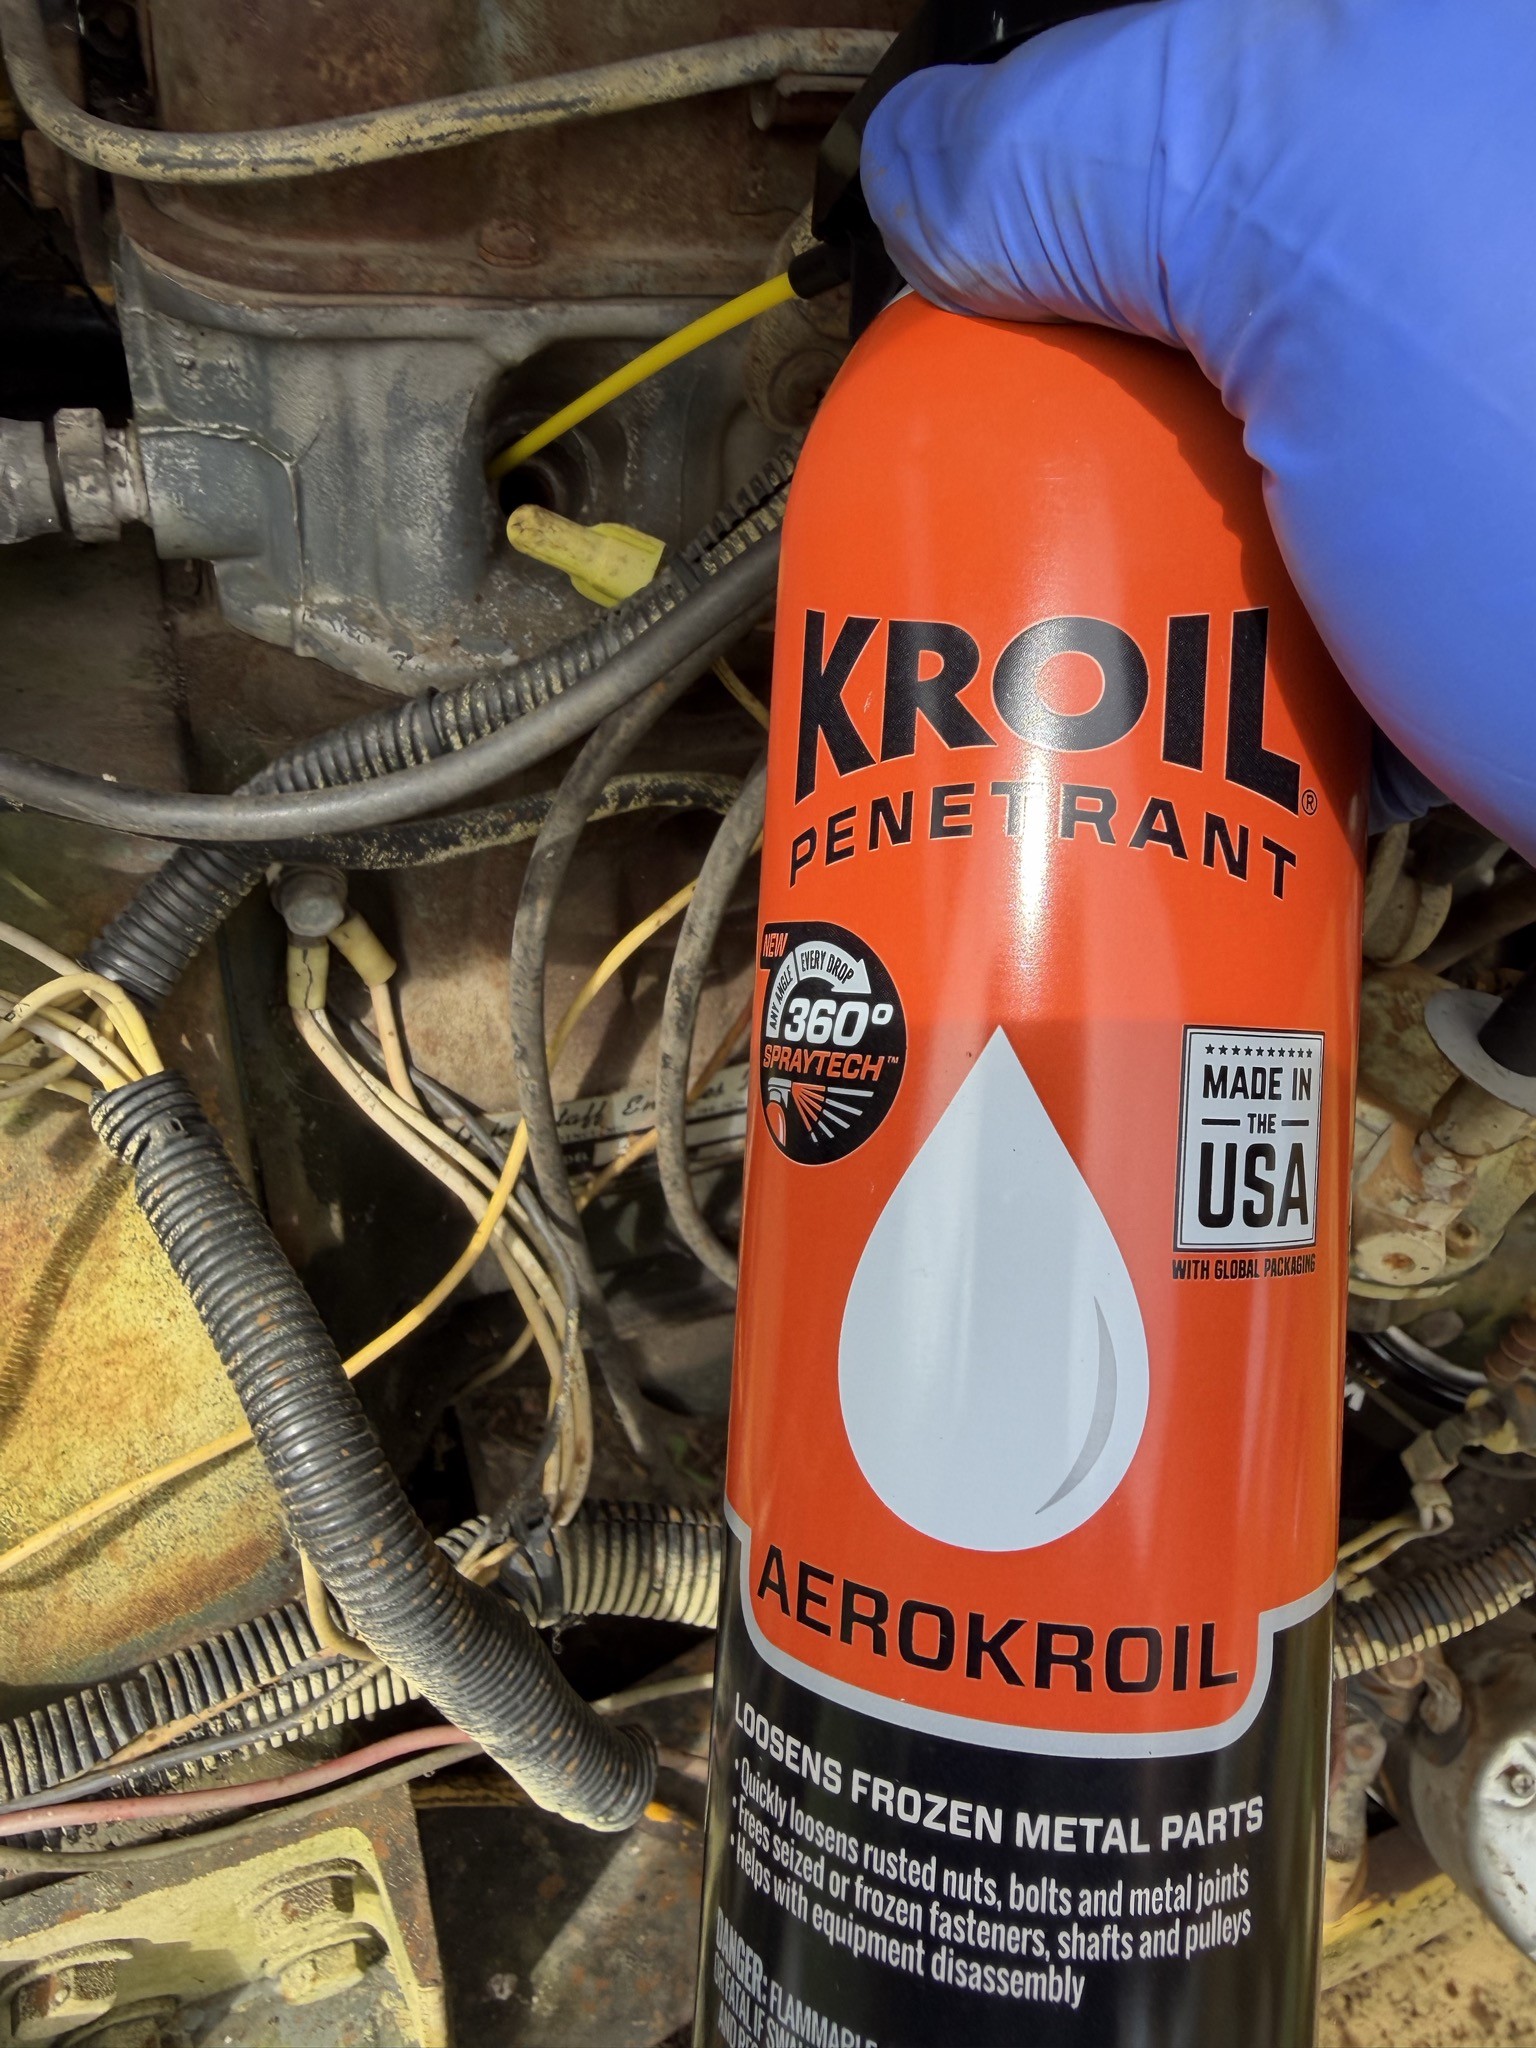
Two weeks of PB Blaster, then a fresh dose of Kroil down all four bores before trying anything.
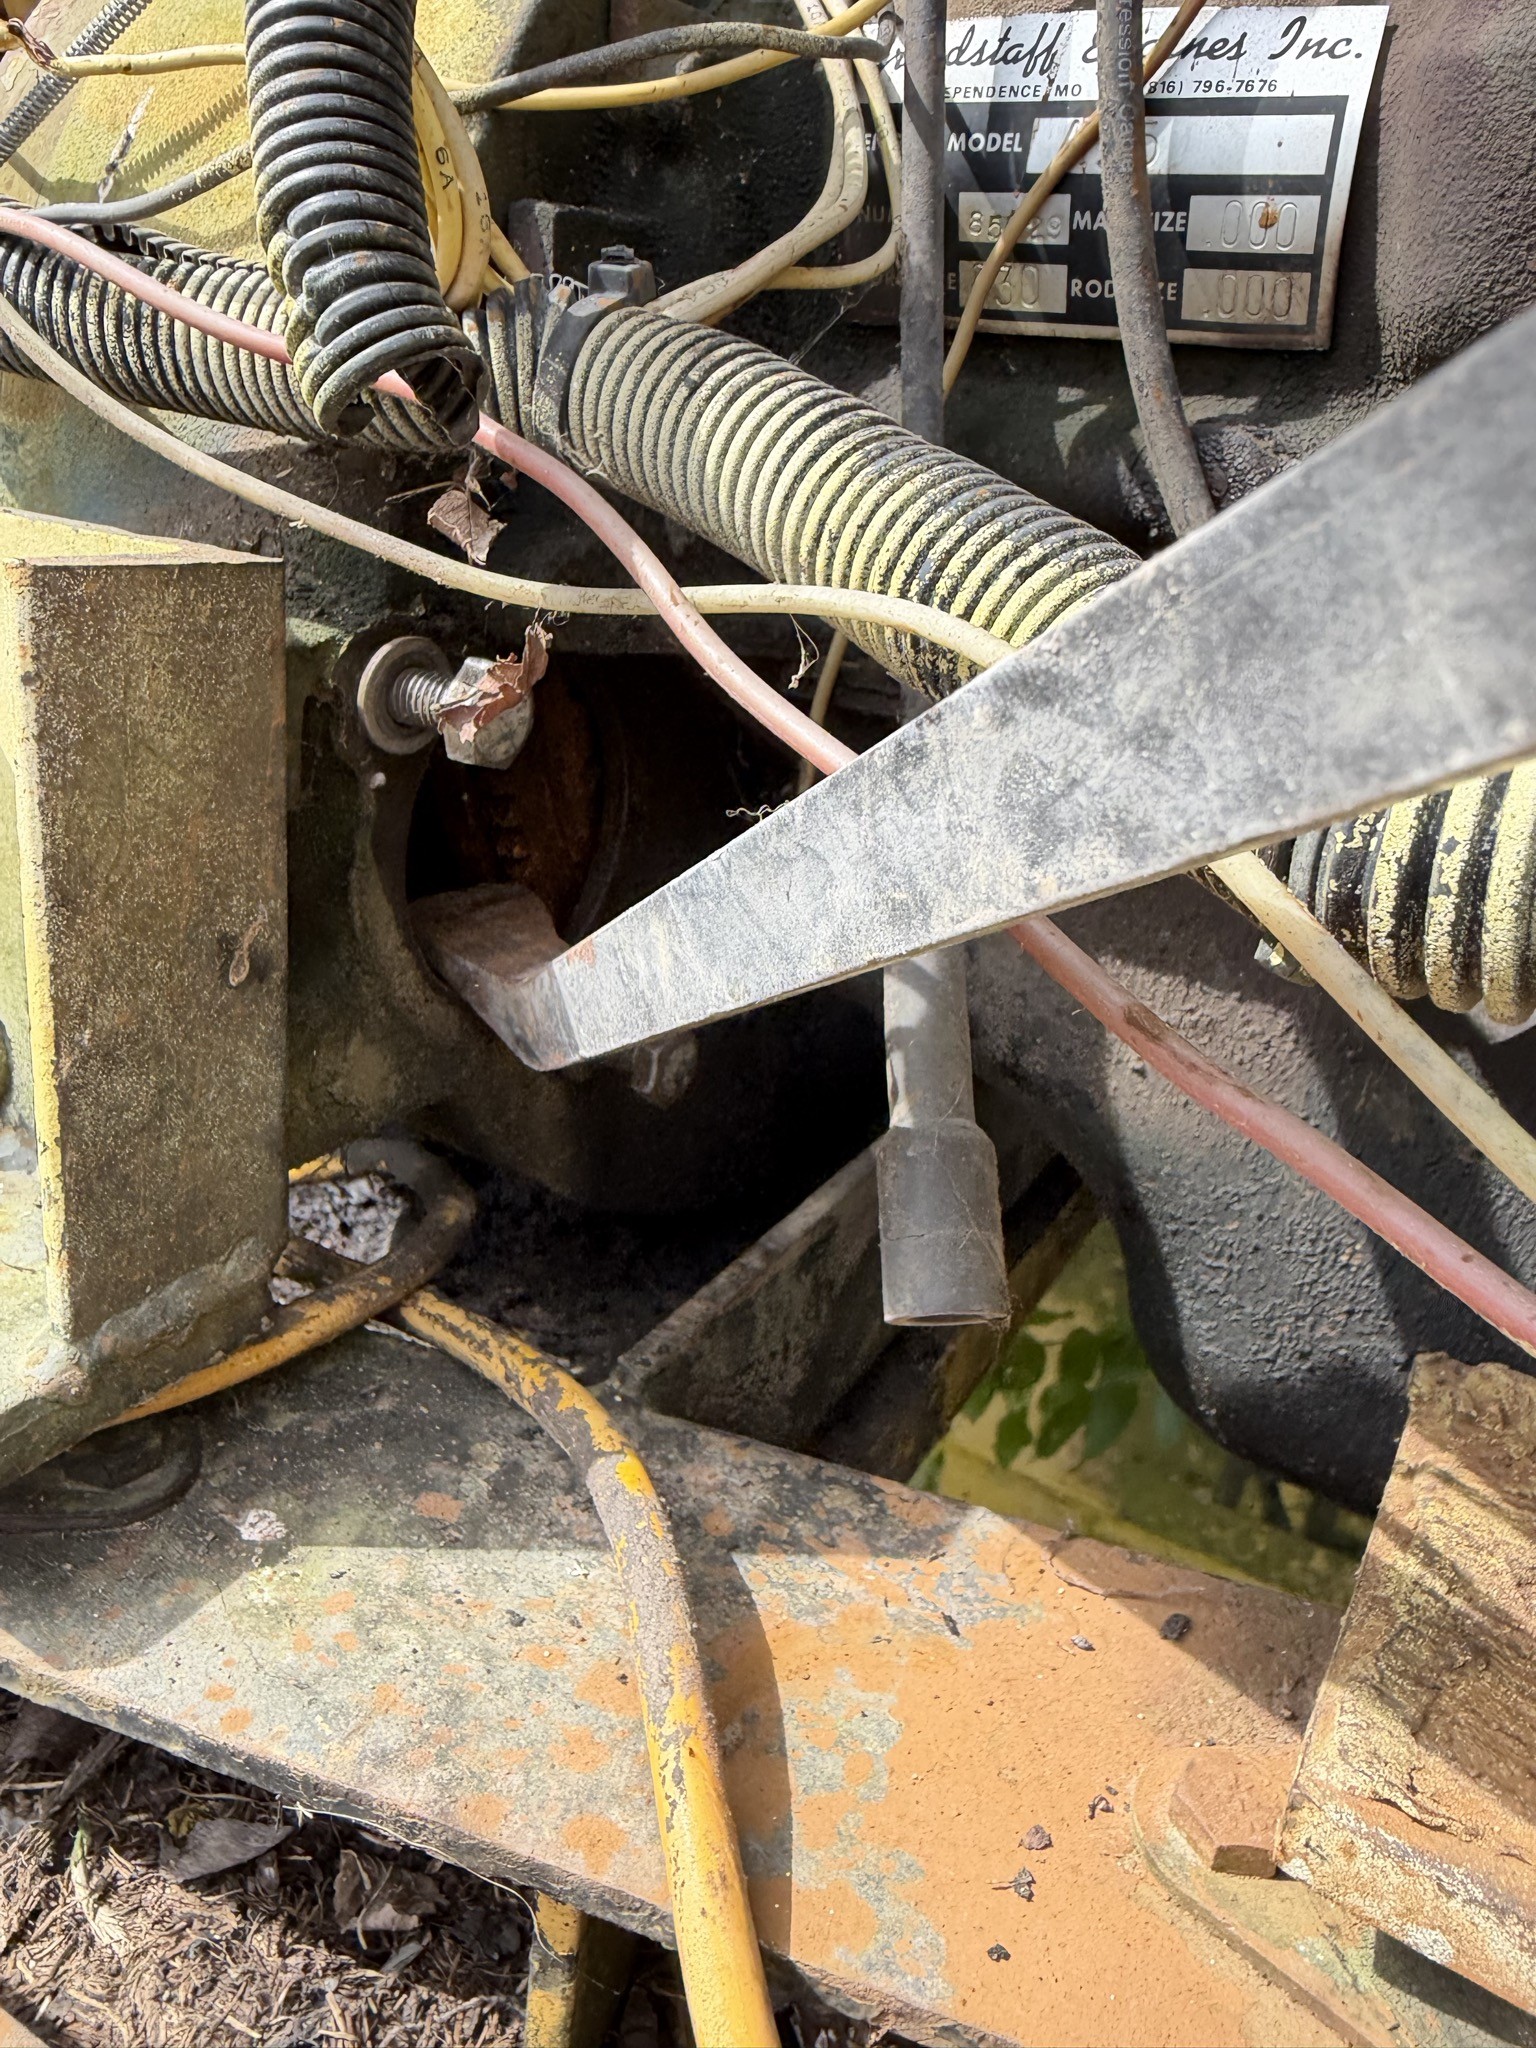
With the starter out, a pry bar goes straight onto the ring gear through the opening. It wasn’t easy, and it was binding, a few teeth at a time, slow going, then it stuck solid. Backed it off a little and tried again, and it moved past the stuck spot. After that it got easier, and it went a full 360°.
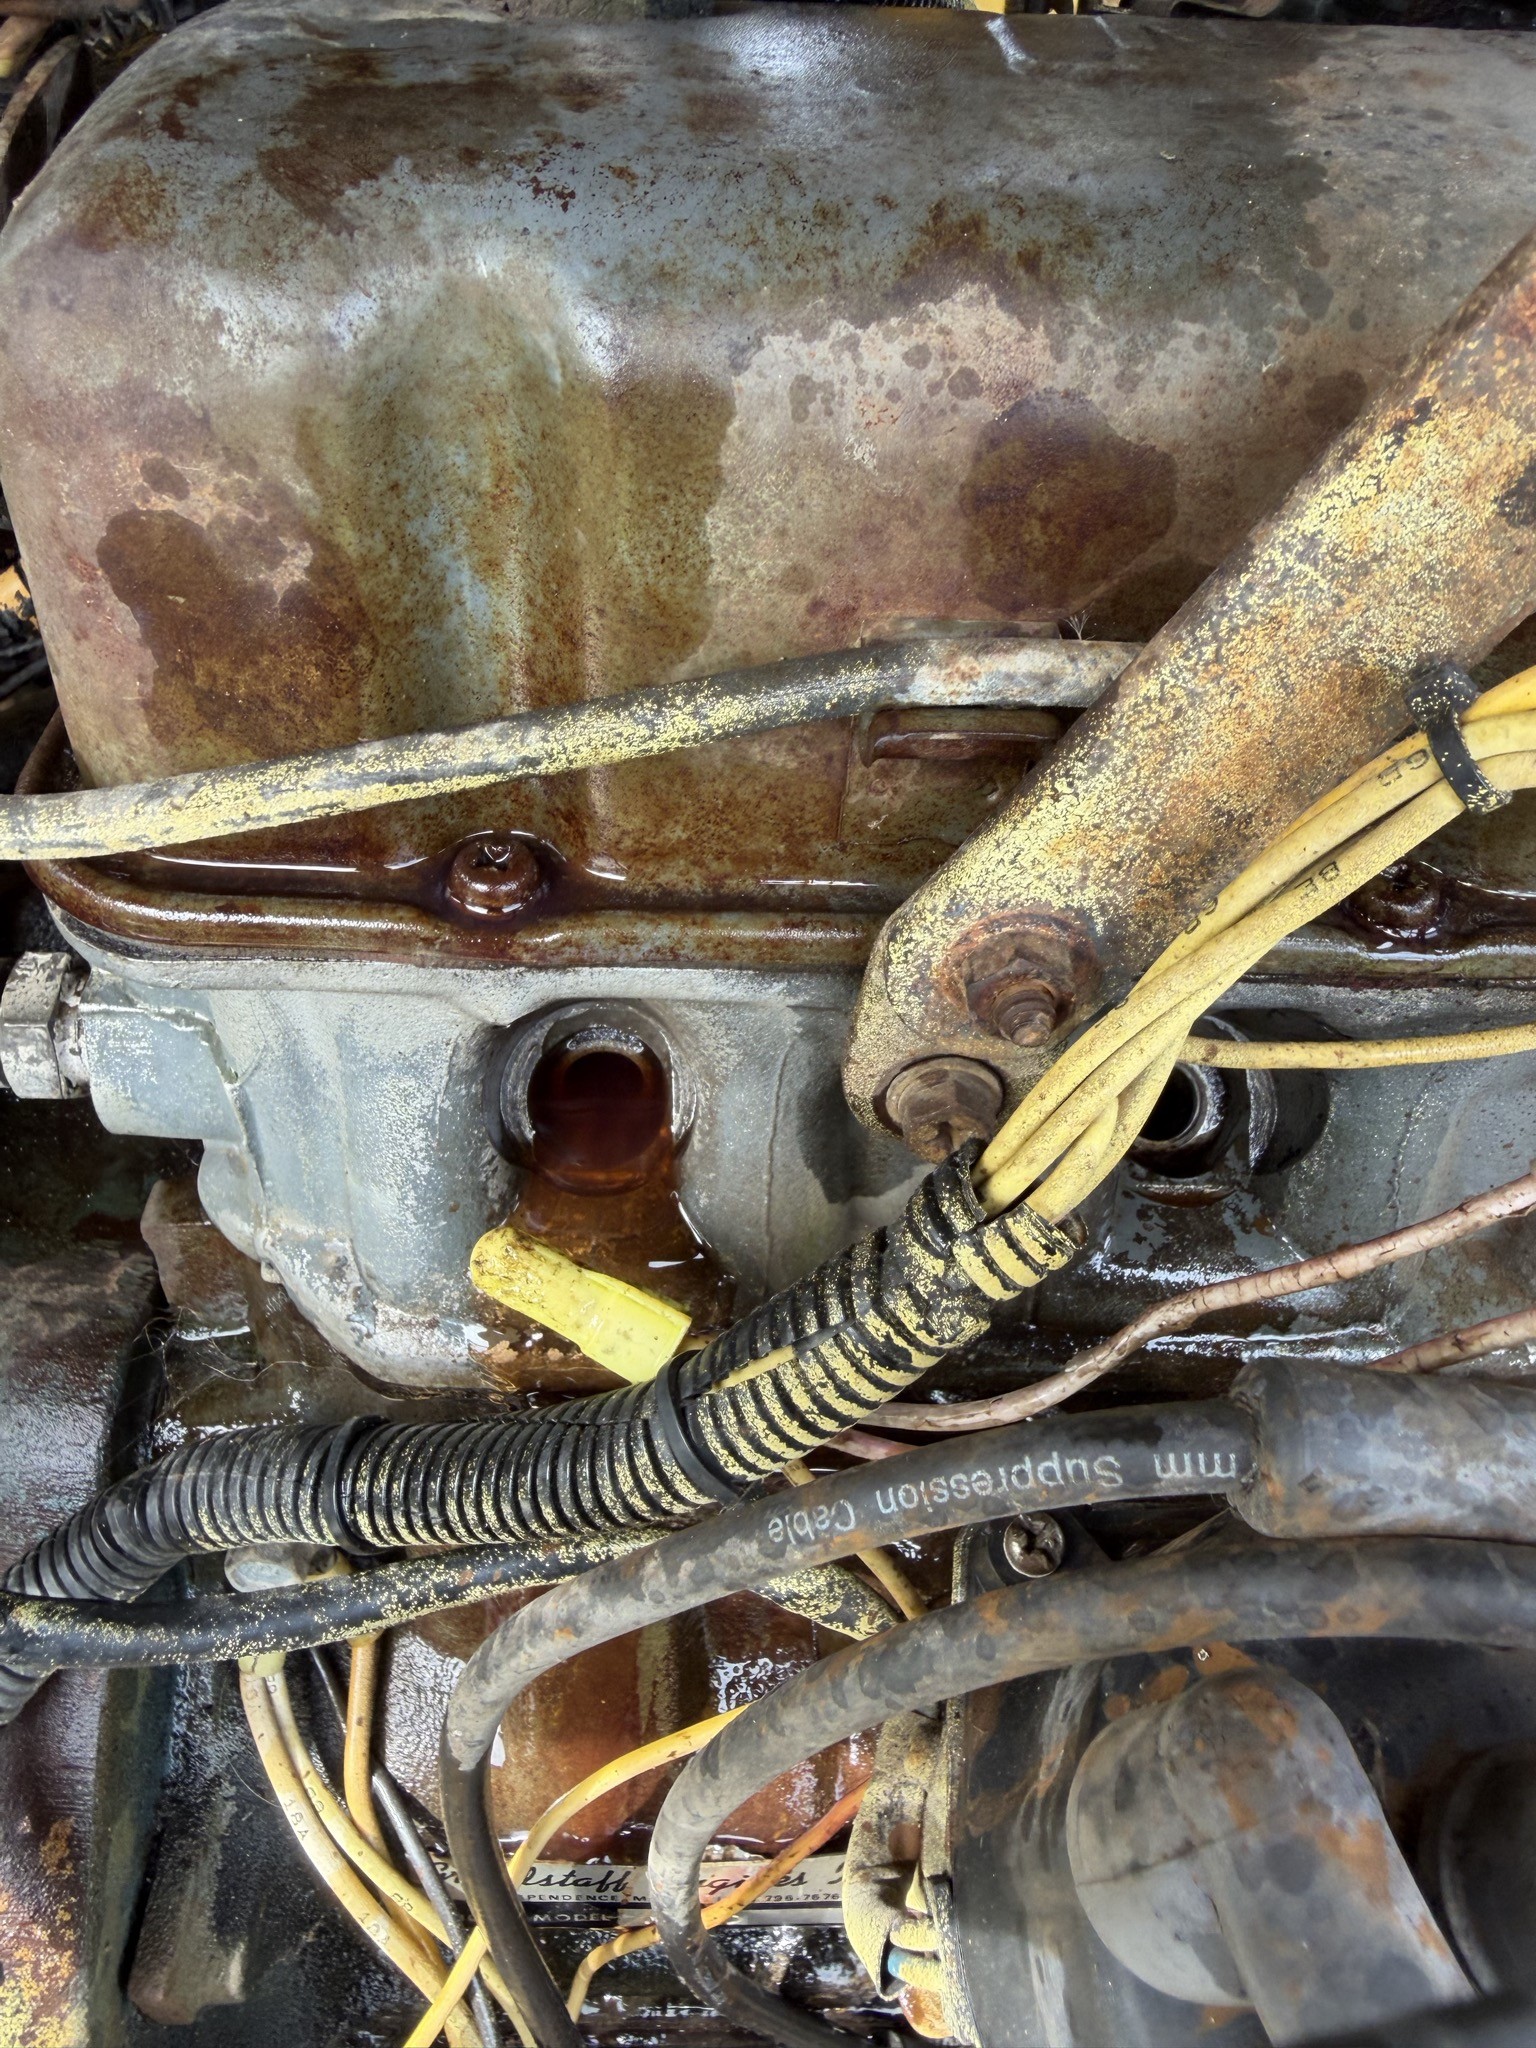
All that Kroil came pouring back out of the plug holes as the crank turned over.
The engine turns
This is the headline finding of the project so far. Every prior document here (Research §4.2b, Startup §1a, 23 Aug) described a crank with zero movement after a gallon-plus of water came out of the crankcase, and treated a teardown as the more likely outcome. That status is now out of date. It isn’t free-spinning yet and it hasn’t been run, but it moves through a complete revolution by hand, which is the milestone every one of those documents was written around, “nothing else matters until it turns.”
The method matches the recommended one exactly, and it worked exactly as described. Startup §1a laid out two options after pulling the starter, bar the crank pulley bolt, or lever the flywheel ring gear through the starter opening, and called the ring gear the better one. More mechanical advantage, load spread through the gear instead of one fastener, and a clear view of movement. The photos and video from today show the ring gear method, not the pulley bolt. It also followed the “rock it, don’t heave” guidance from the same section, work it a few teeth, back off at the stuck point, try again, rather than forcing straight through resistance. That’s exactly the rust-bond-breaks-on-the-reversal behavior that section predicted, and it’s exactly what happened. It hit a stuck spot, backed off, came free, and then went easy.
The Kroil pouring back out as it turned is a good sign, not a concerning one. It means fluid that had been soaking down the plug holes for two weeks reached the rings and was sitting in the bores above the pistons, exactly where you’d want penetrant to be working. It does not by itself confirm the bores are clean or that a piston isn’t still dragging. That’s what the compression check in the next steps below will actually tell you.
One revolution by hand is real progress, but it isn’t the same question as “will it run.” The rusted-bearing-journal concern from 23 Aug (a gallon of water stood in the crankcase, not just one bore) isn’t resolved by the crank turning over once with a bar. A rusted journal can still turn under enough leverage and score badly the first time it spins fast under load. Worth keeping Startup §1a’s steps 8 and 9 (drop the pan, pull a rod cap, look at a bearing shell) in mind as a check before the first real start attempt, even now that the crank moves. Not as an “it’s stuck again” fallback, but as due diligence on a bottom end that stood in water for an unknown length of time.
The plan for next time
Old plugs went back in for now, and it’s soaking another week before the next round.
Next steps, in order
- Pull the plugs back out and leave them out
- Reattach the starter
- Hook up a battery
- Crank it (no spark) to clear the cylinders
- Do a compression check
- Check the oil for additional water after the no-spark cranking
- Re-torque the crank bolt
- Re-attach the radiator
- If everything looks good, try to start it
- Gap and install the new plugs
- Bring the spark tester to confirm we’re actually getting spark
- Fix up the gas lines
- Run a gas line to my own tank, not the manlift tank
- See if it starts
- Let it run 10 to 15 minutes until warm
- Drain the oil/ATF mix while hot
- Change the oil filter
- Refill oil
- Drain the remaining gas from the manlift tank into its own container. Don’t mix it with oil or water
- Add HEET to the manlift tank to dry it out
Bring
- Another oil filter
- Container for the old gas
- Spark tester
- Compression tester
- Feeler gauges
- Multimeter, for diagnosing any startup faults
- Torque wrench
- Oil
Buy
- Gas tank breather
- Plugs, cap, rotor, wires
- Battery
The plan checks out, plus one addition
Re-torquing the crank bolt. It’s 108 to 145 ft-lb (Specs), the same bolt used to bar the engine over, so it’s worth checking it wasn’t loosened by today’s work even before the planned re-torque.
Cranking with the starter, no spark, to clear the cylinders is the right sequence and in the right order relative to compression testing. It clears any remaining penetrant/water out of the bores before you’re relying on a compression gauge reading, and it’s a second, gentler proof that the bottom end turns freely under starter torque rather than just under a bar.
Buying cap, rotor, wires and plugs together makes sense given the confirmed electronic distributor. There’s no contact set to buy, but this is still a cap-and-rotor distributor mechanically, so both wear items are correctly on the list.
Draining the remaining gas from the manlift’s own tank, and running it from a separate can of your own for the first start attempt, sidesteps the open question about that tank’s vent fitting (23 Aug) and keeps whatever’s been sitting in the factory tank out of the carburetor for the first start. Adding HEET (isopropyl-based) to the manlift tank afterward is a reasonable way to chase any water left in it before trusting that tank again. It’s built for exactly that, though it won’t do much for actual rust or sediment sitting in the bottom.
On the oil/ATF drain after a first successful run, this matches the standing guidance on Specs that after a flooded crankcase, the first oil fill is a flush, not a service. Plan on doing this more than once before trusting a fill.
Where this leaves it
| Was | Now |
|---|---|
| Crank showed zero movement since 2026-08-22 | Turns a full revolution by hand, via a pry bar on the flywheel ring gear through the starter opening |
| Bottom-end condition unknown, teardown looked likely | Still genuinely unknown. Turning once by hand doesn’t clear the rusted-bearing-journal concern from a flooded crankcase, but it’s a much better starting position than zero movement |
| Starter part number unrecorded | Mitsubishi reman, Customer # M2T42981 |
| Starter bolt size unrecorded | 17mm, ×2 |
Next out. Leave it soaking one more week, then pull the plugs, reattach the starter, crank it with no spark to clear the bores, compression-check it, check the oil for water, re-torque the crank bolt, and, if all of that looks right, try for a start.
Back to My Story · 23 Aug 2026 · Specs · Checklists · Research