23 Aug 2026 - Draining It Out
23 Aug 2026 - Draining It Out
Went back out to drain the fluids, get some measurements, and see whether the crank would move after yesterday’s soak.
Short version: the engine isn’t just wet in one cylinder. It’s full of water.
The engine is full of water
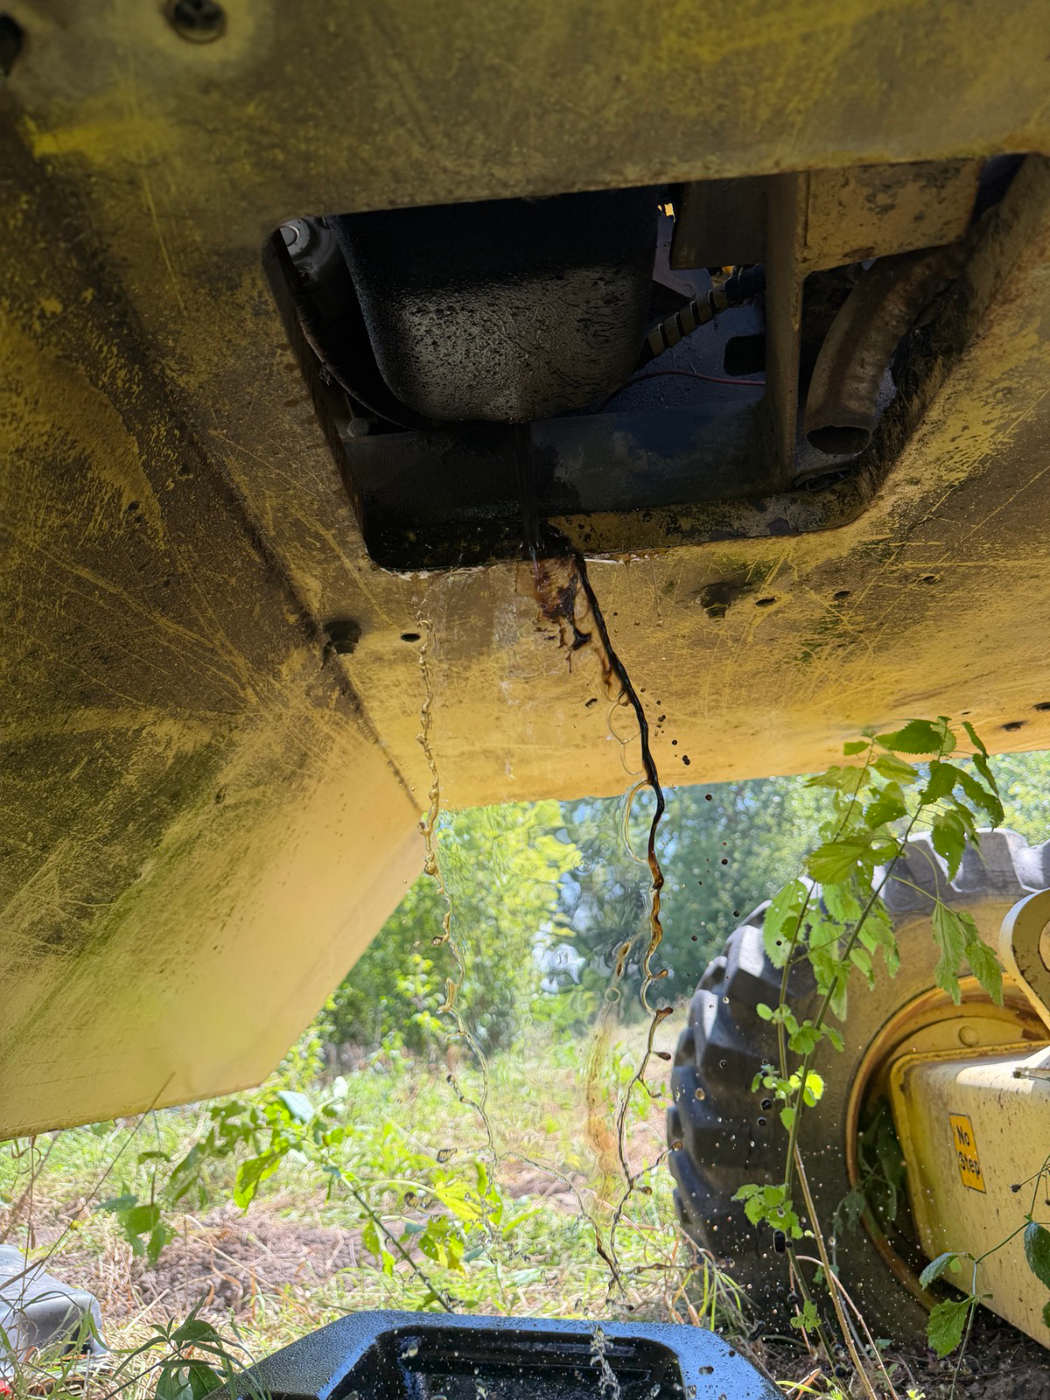
All right, so the engine is full of water. There’s some oil in it. I drained it, but probably a good gallon or more of water came out.
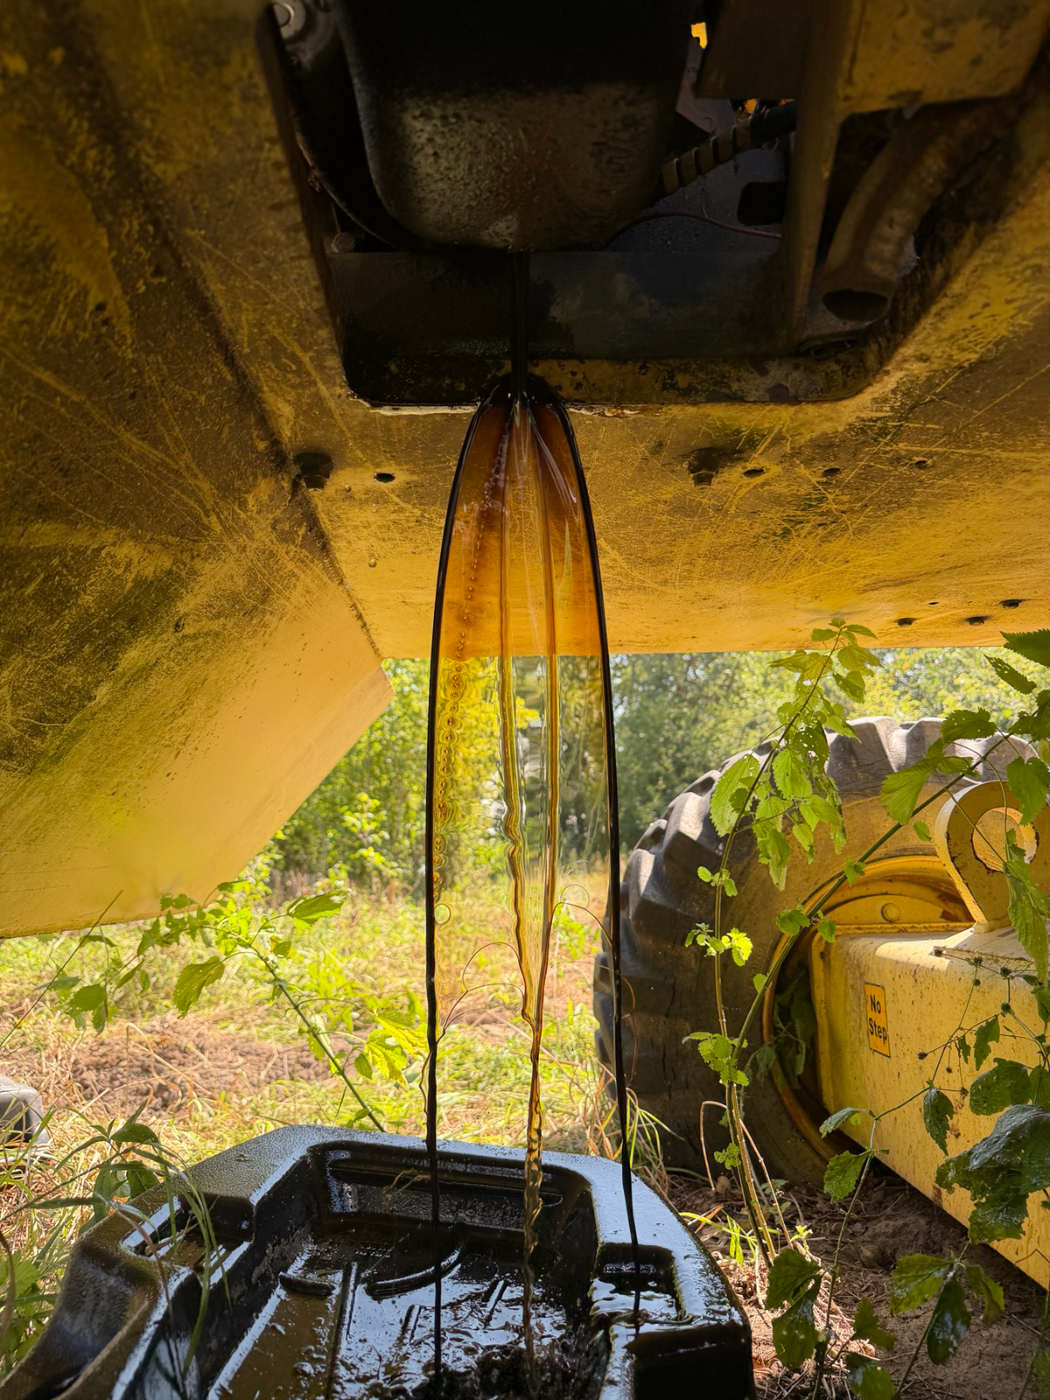
After I drained it, I poured some gas in the top end and the valve cover to wash things out. I’m draining that too.
I poured a quart and a half of ATF into the engine. I’ll add some acetone when I come back.
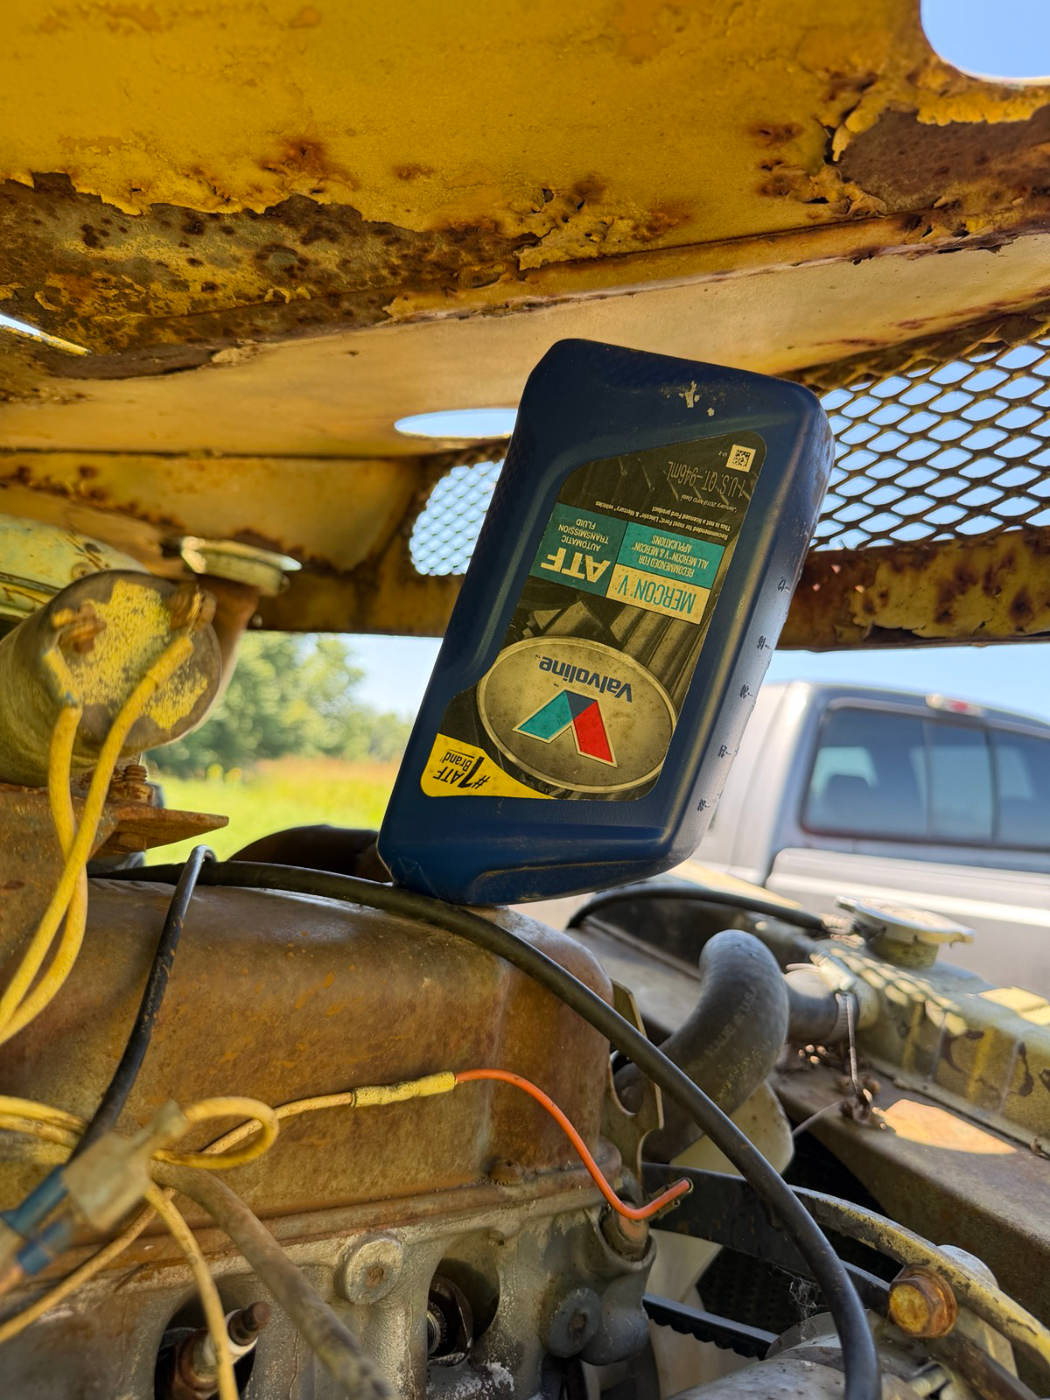
Zero movement on the crank pulley. It seems highly likely the engine is frozen given the water.
Sizes, while I had wrenches on them: the crank bolt is 1 1/16 inch and the oil drain plug is 7/8 inch.
One thing I didn’t do was disconnect the hydraulic pump. It’s directly bolted on, and I’m not sure what I’d be getting into if I wanted to take it apart. Pulling the hydraulic pump seems like a waste of time.
Findings — a gallon in the sump is a different problem
The sump only holds 3.2 L — about 0.85 gallon — of oil. A gallon or more of water coming out means the crankcase was flooded well past full, and had been for a long time. This is no longer “one bore took on rainwater.” It is water sitting in the bottom end.
Look at the stream in the photo: thin, pale and running like water, with a separate darker oil layer alongside it. Not the emulsified brown “mayonnaise” of a fresh coolant leak — this is water that has sat still long enough to separate out and settle underneath the oil. That is consistent with slow ingress over a long period, which is what rain through four open plug holes does.
This changes the leading theory for the seizure. Ring rust in No. 2 was the working assumption; rusted main and rod bearing journals now rank at least as high. The crank, rods and bearing shells have been standing in water. Penetrant poured down the plug holes reaches the bores; it does not reach a main bearing.
On skipping the hydraulic pump — that’s the right call now. The reasoning for pulling it was to rule out a seized pump before assuming the engine. With a gallon of water out of the crankcase, the engine no longer needs ruling in. Leave the pump alone.
A better way to apply force than the crank pulley bolt: pull the starter and lever against the flywheel ring gear through the starter opening with a long pry bar. That gives far more mechanical advantage than a socket on the crank bolt, spreads the load through the ring gear instead of one bolt, and gives a clear view of whether anything moves at all. Standard practice on a stuck engine, and it costs nothing.
Worth setting expectations honestly: a gallon of water in the crankcase plus zero movement is a combination that often ends in a teardown rather than a free-it-and-run-it. That’s not a reason to stop soaking — it costs almost nothing and it tells you a great deal either way — but it is a reason to plan for pulling the pan and at least one rod cap to look at a bearing before spending money on tune-up parts.
One note on the gasoline flush: it works, but gasoline as a wash-out is a real fire risk and it strips what little oil film is protecting bare metal. Diesel or kerosene does the same job, doesn’t flash off, and leaves a protective film behind. Worth switching to for the next flush.
Fuel
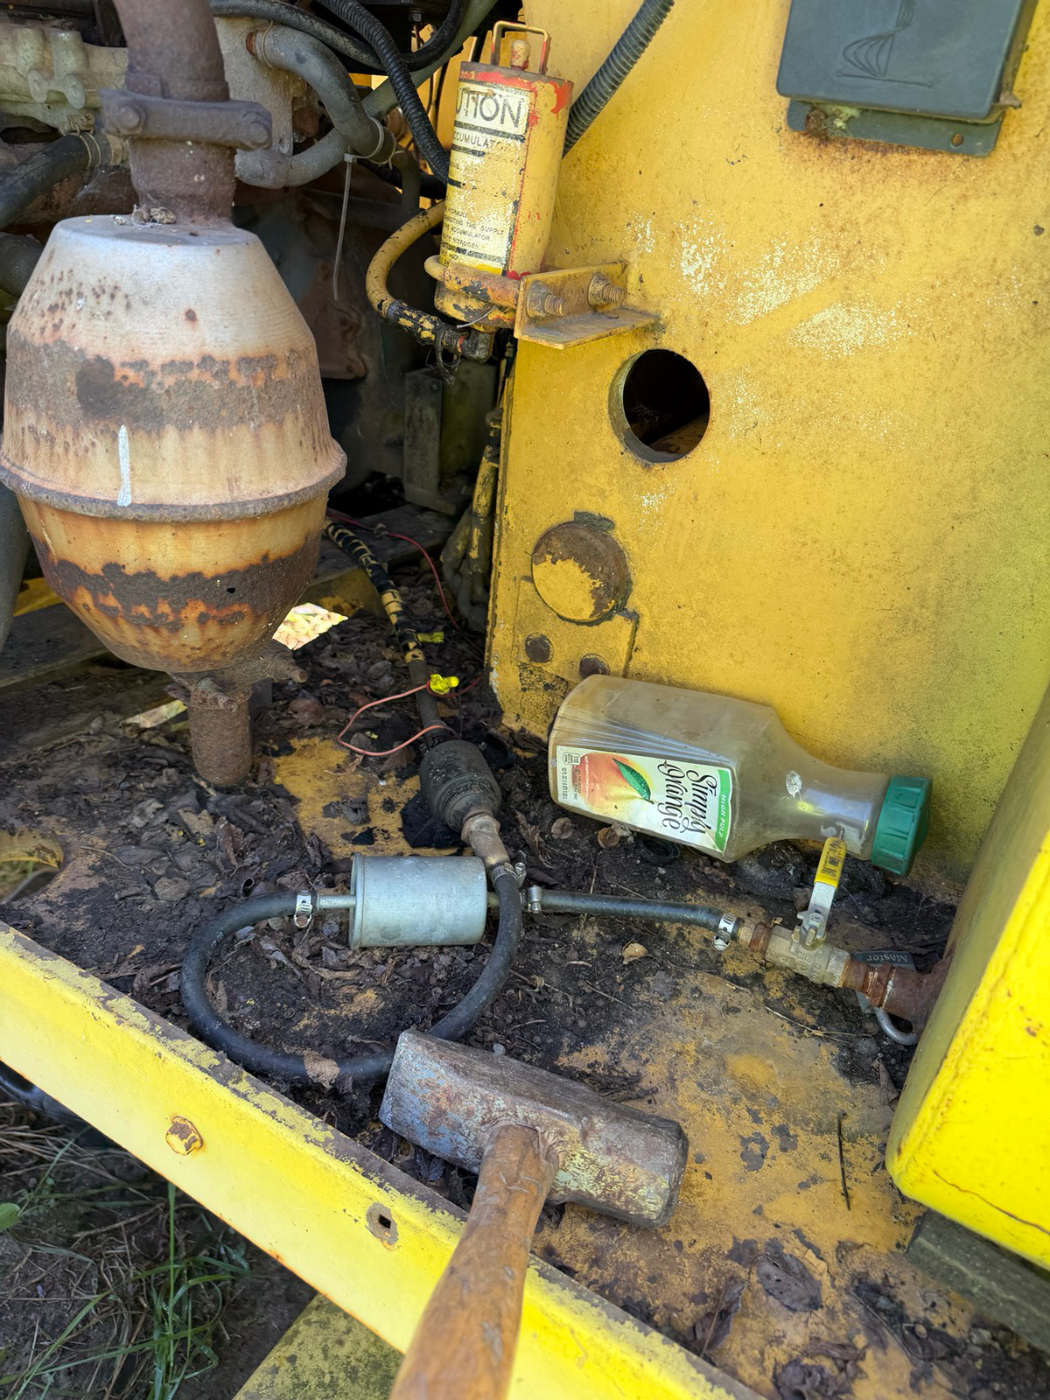
It needs some fresh 5/16 inch fuel line and probably a couple of hose clamps.
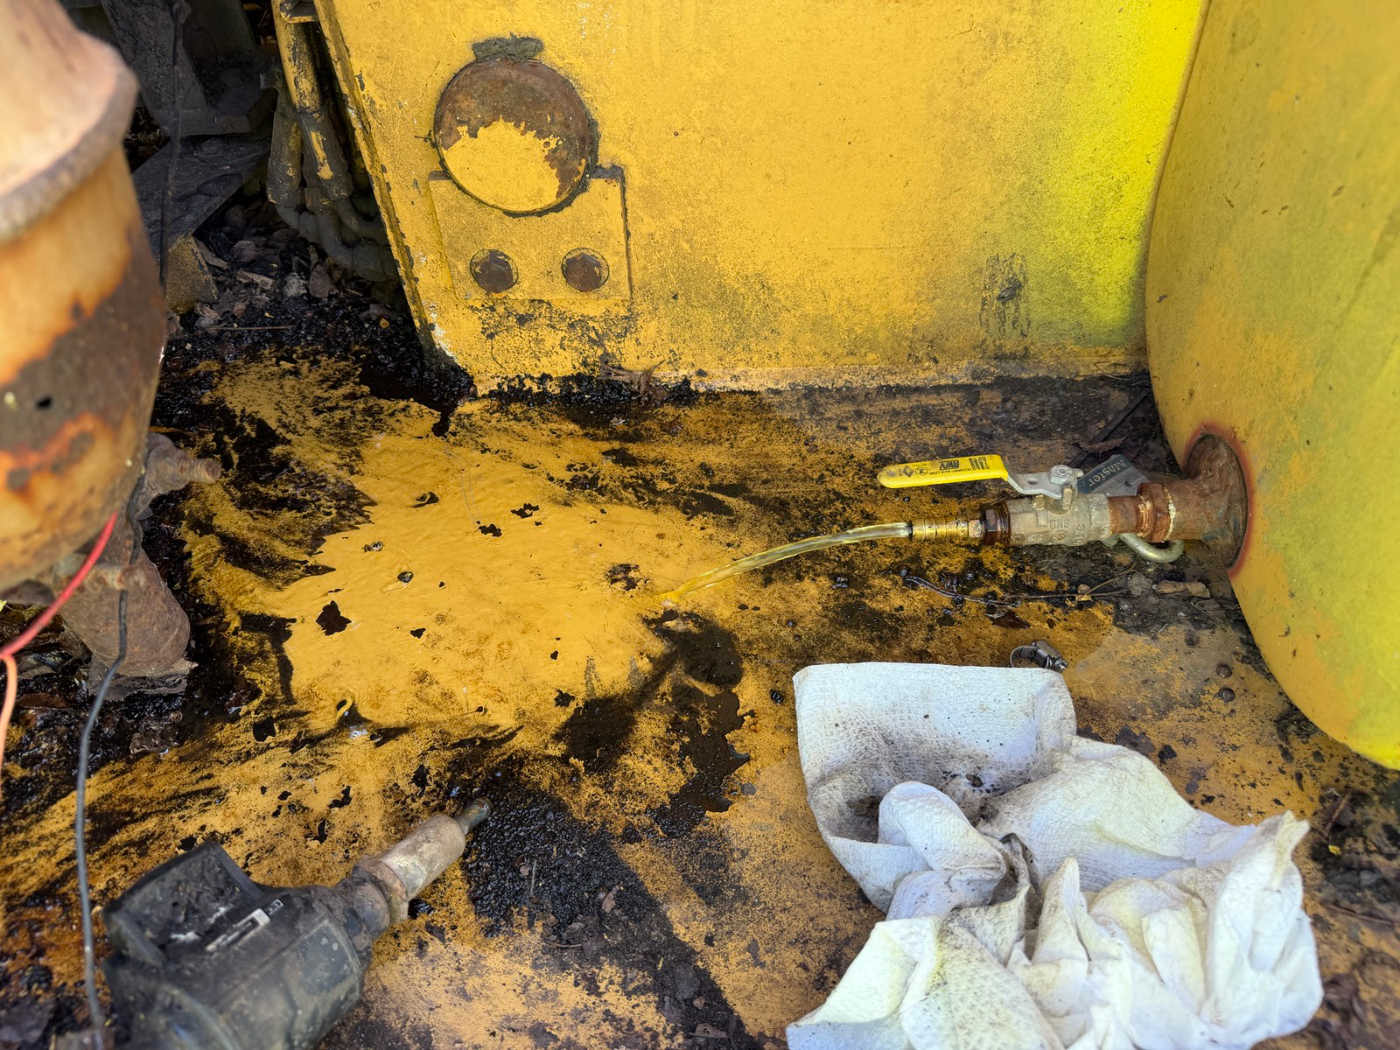
I drained the fuel tank into my oil cart. I dumped as much gas as I could, but there’s still more to go.
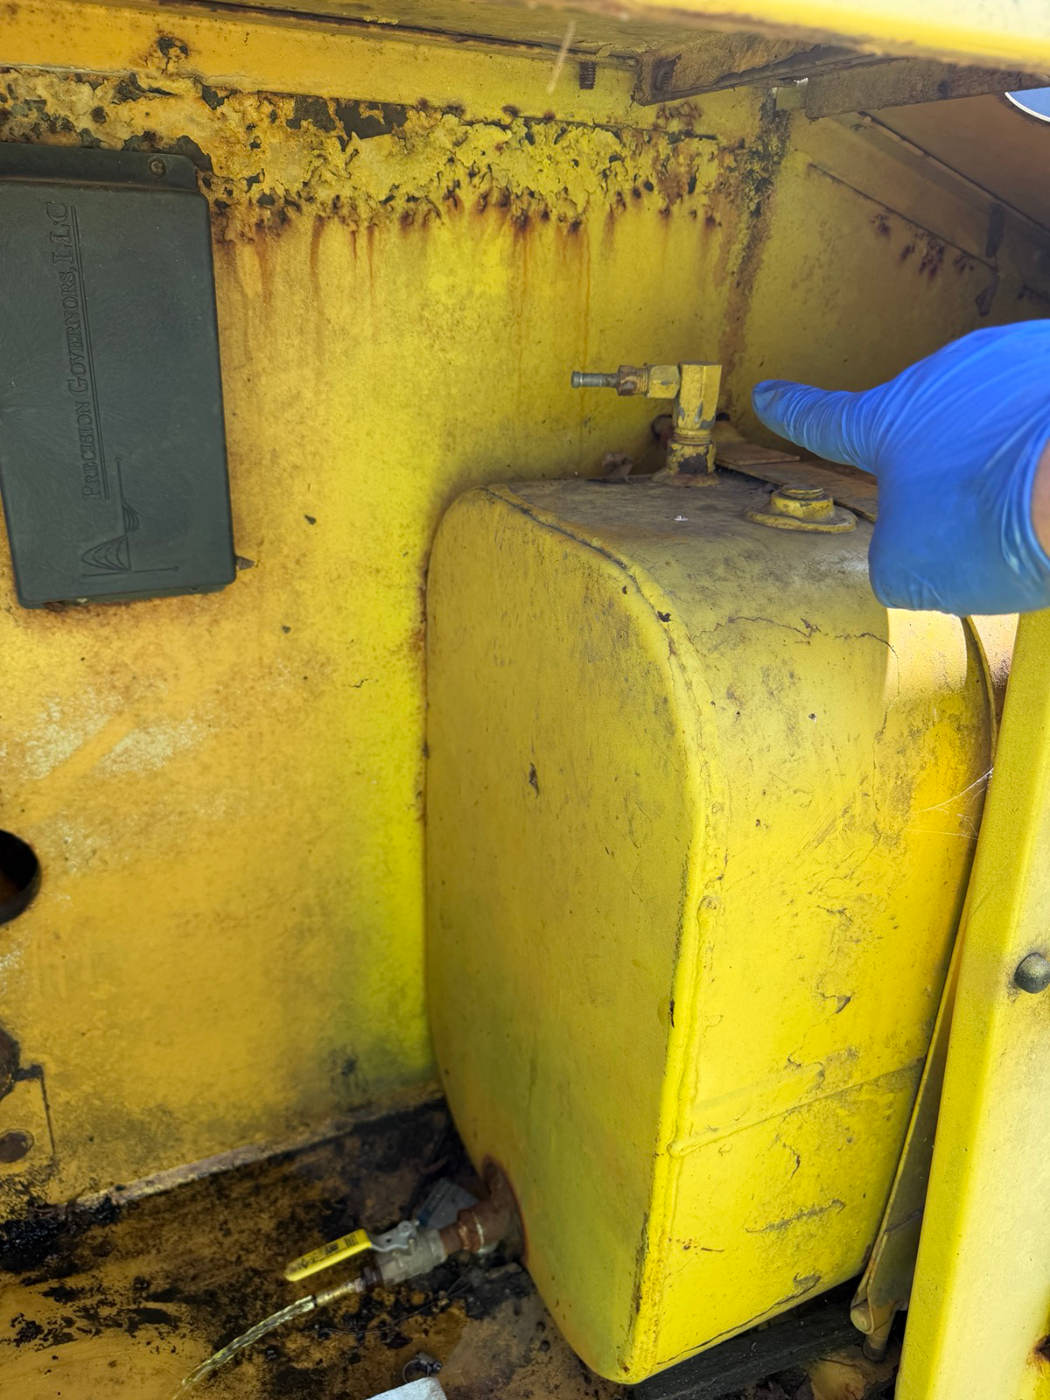
It looks like there’s some sort of a vent or something on top of the fuel tank, and it’s not going anywhere.
Findings
If the tank has stopped draining, suspect the vent before the drain. A sealed tank draining from the bottom pulls a vacuum on itself and slows to a trickle or stops entirely. Cracking the fill cap open breaks the vacuum and it will usually start running again. Try that before working on the fitting on top.
That fitting is worth identifying either way. The factory sales brochure describes the tank as 30 gal (114 L) steel with a sight gauge — this machine’s tank has both a vent arrangement and a sight gauge to account for.
5/16 in line matches the hose sizes visible at the filter and separator. Buy a good length — the run from tank to carburettor on this machine goes a long way, and any line that has sat with old gasoline in it is worth replacing end to end rather than in patches.
Battery box measurements
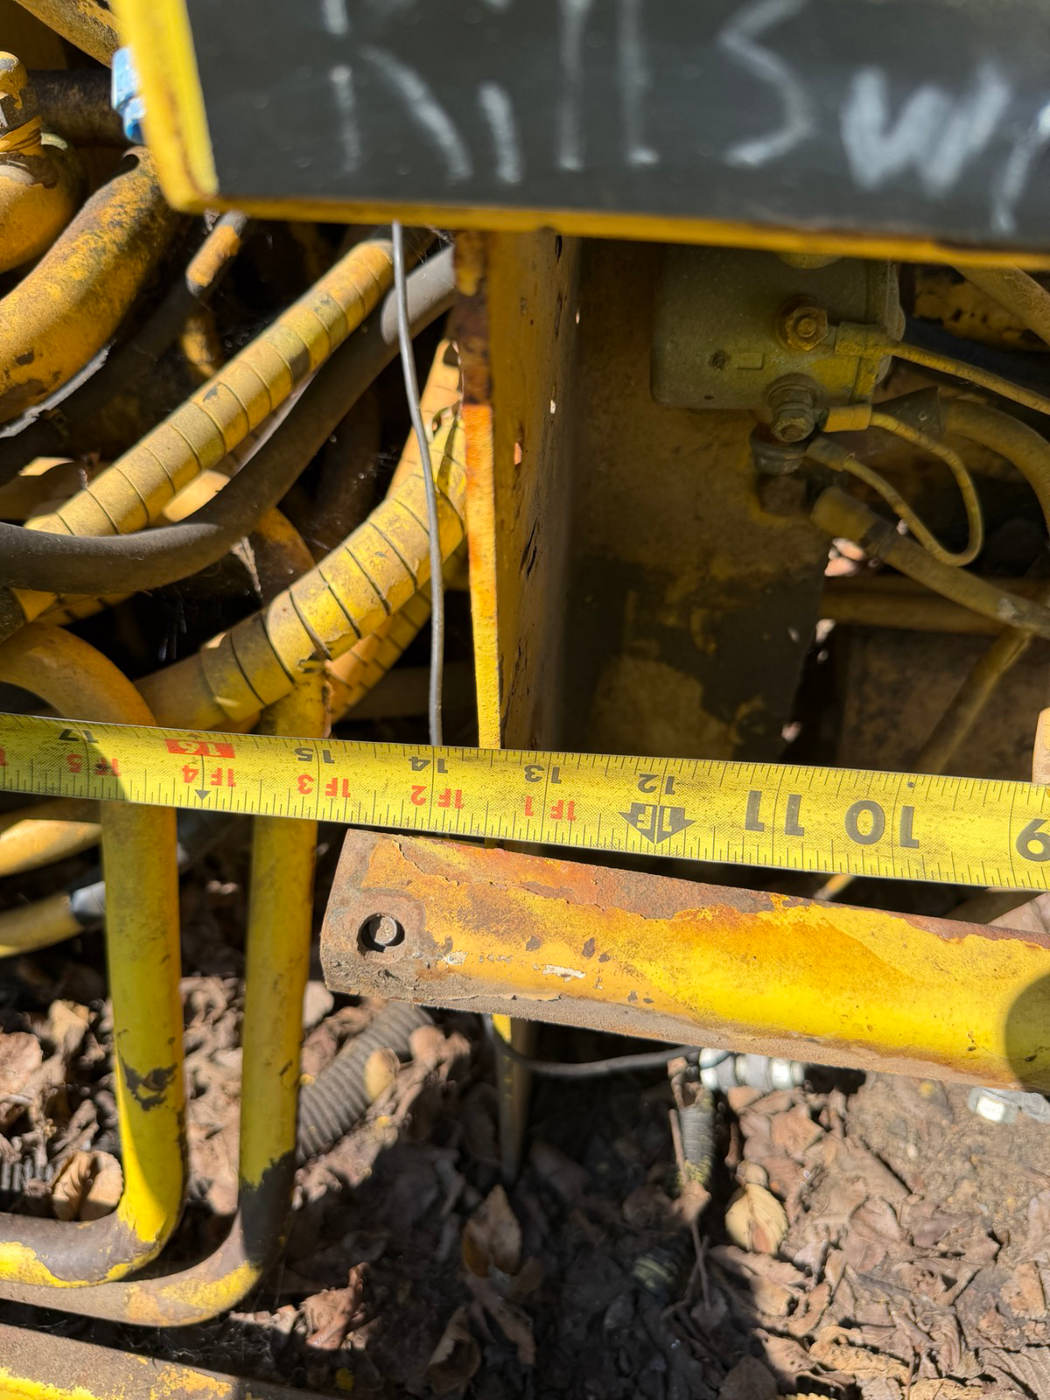
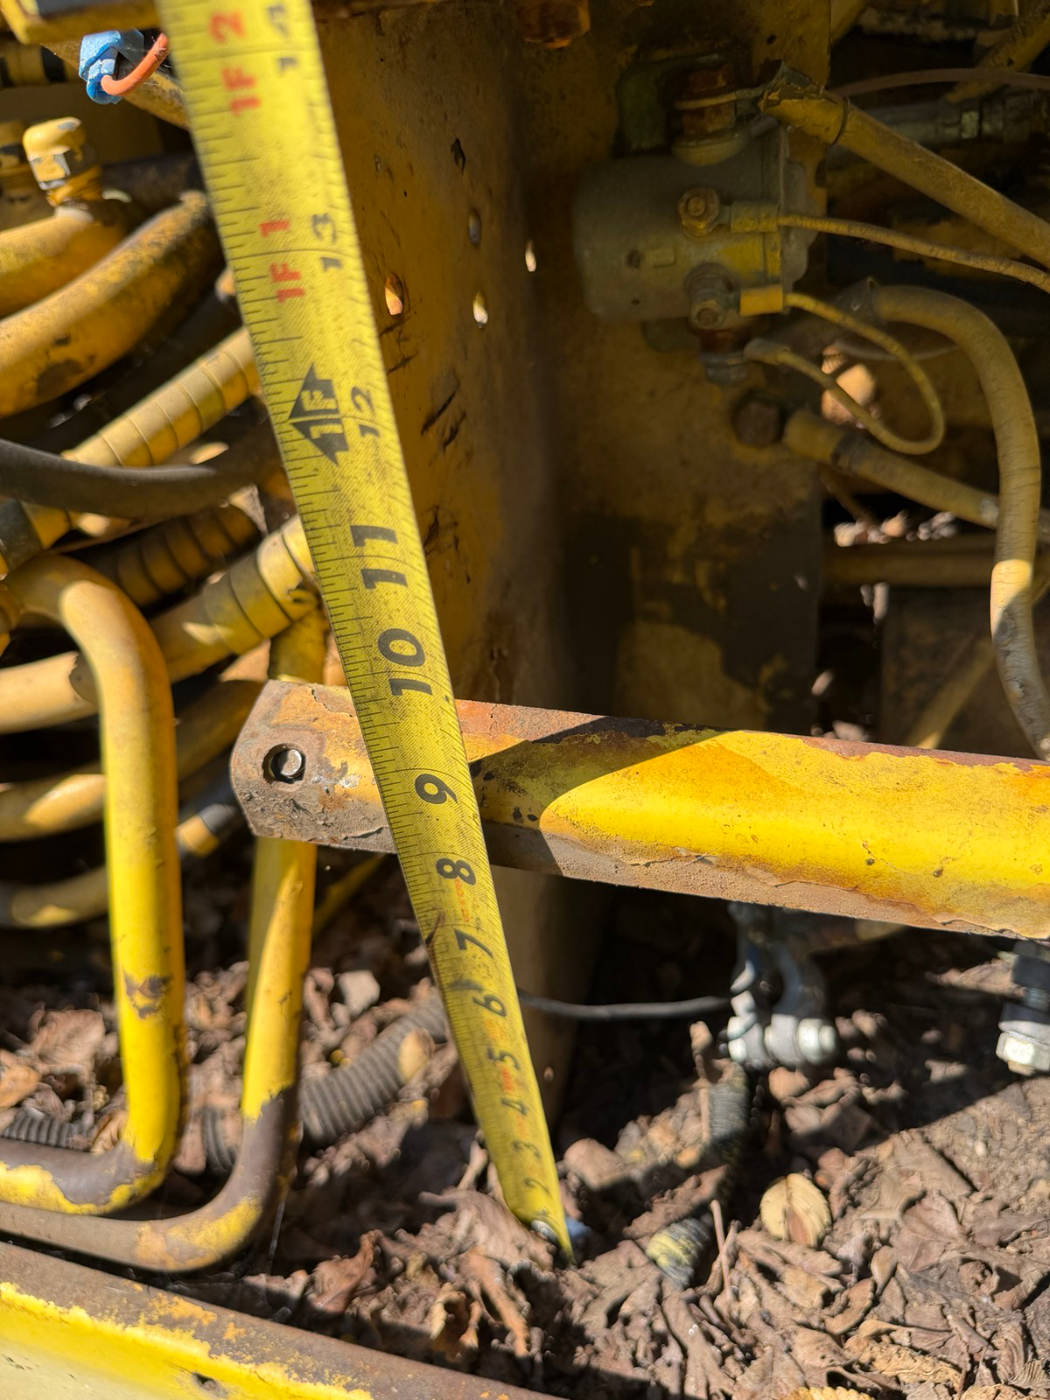
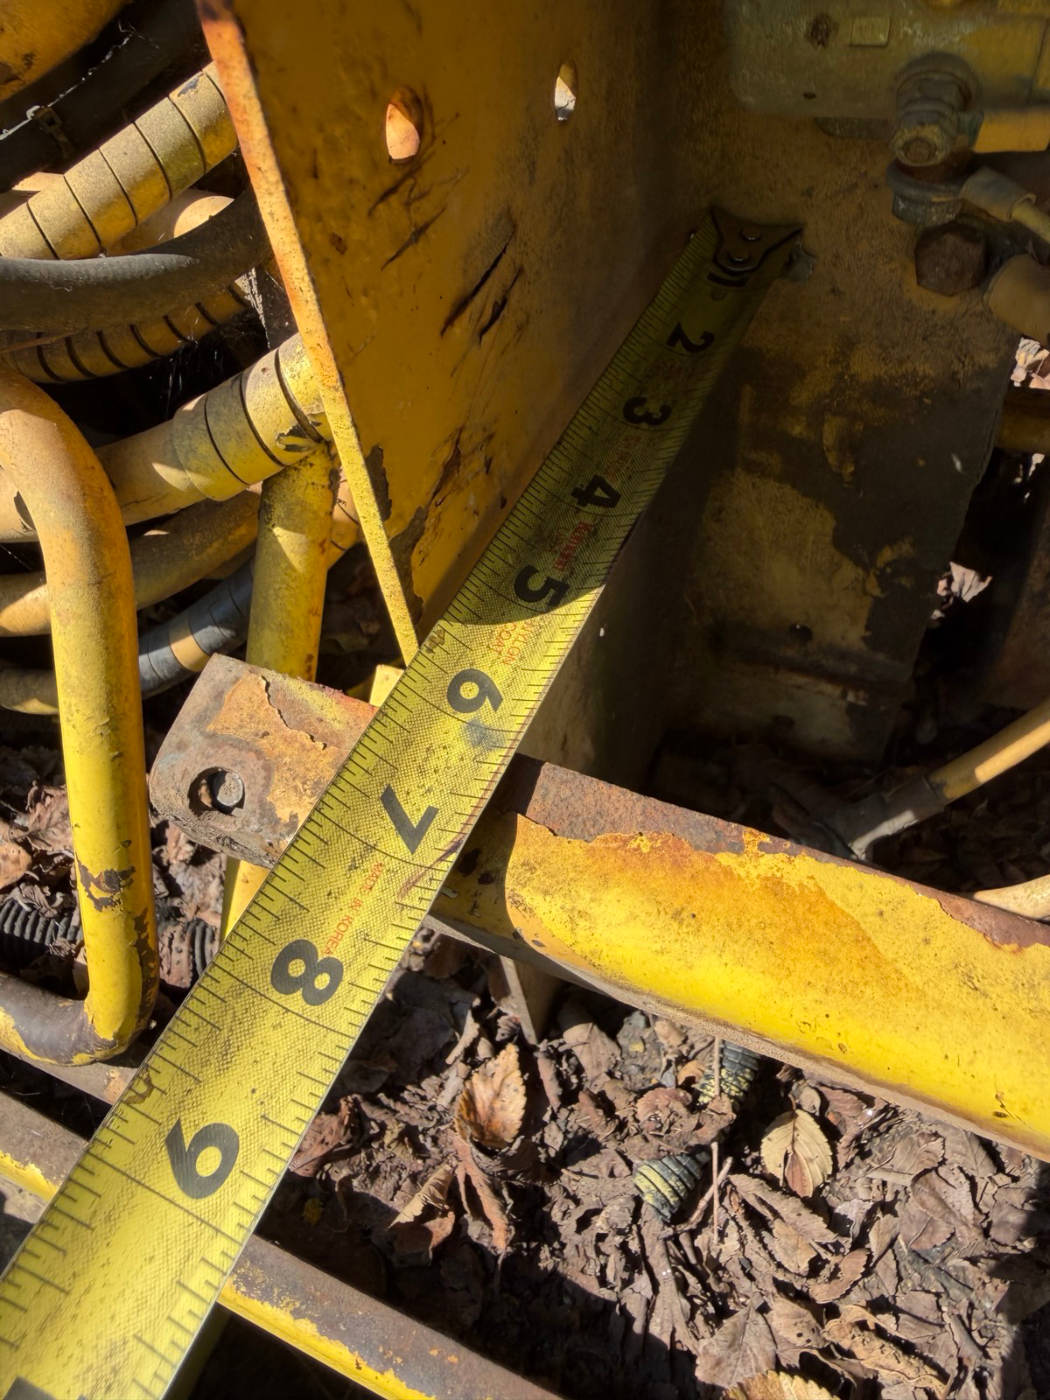
The battery compartment is 13 1/4 inches wide, and it looks like it would accommodate a battery about 8 1/2 inches tall and maybe six and three-quarter inches deep.
Findings — that’s a Group 31 box
13 1/4 × 6 3/4 in is the BCI Group 31 footprint, which is 13 × 6 13/16 in. That is not a coincidence — the compartment was built around a Group 31, which is the standard commercial and heavy-equipment size and the obvious fit for a machine specced at 625 CCA.
The one thing to re-check is height. Group 31 is 9 7/16 in tall, and the note above says about 8 1/2 in of clearance. Nothing standard in that footprint is shorter — Group 27 is 8 7/8 in and Group 24 is 8 7/8 in, and both are still over 8 1/2. So before ordering, measure the vertical clearance again and establish exactly what it is measured to: the top of the box wall, a hold-down bar, or a cover. If the real limit is a removable cover or a top bar, a Group 31 drops straight in.
On capacity: 625 CCA is the factory minimum (Specs). A Group 31 typically runs 750–1000 CCA, so any Group 31 clears the requirement comfortably. Check terminal orientation against which side the cables come from before buying — Group 31 comes in several terminal configurations and the cables in this tray are not long.
Parts
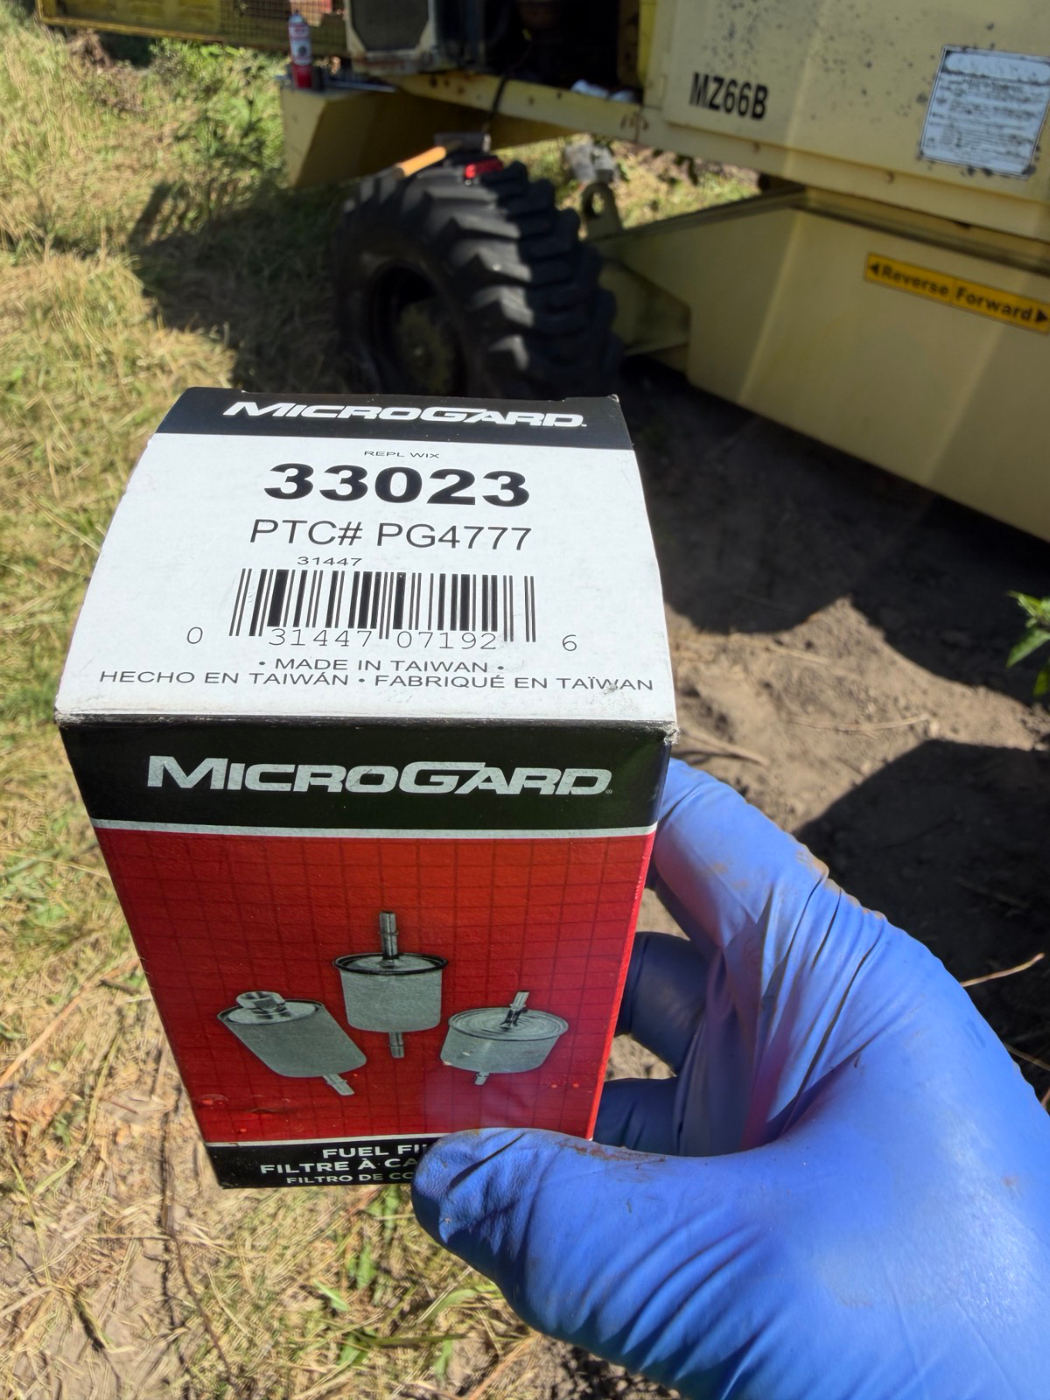
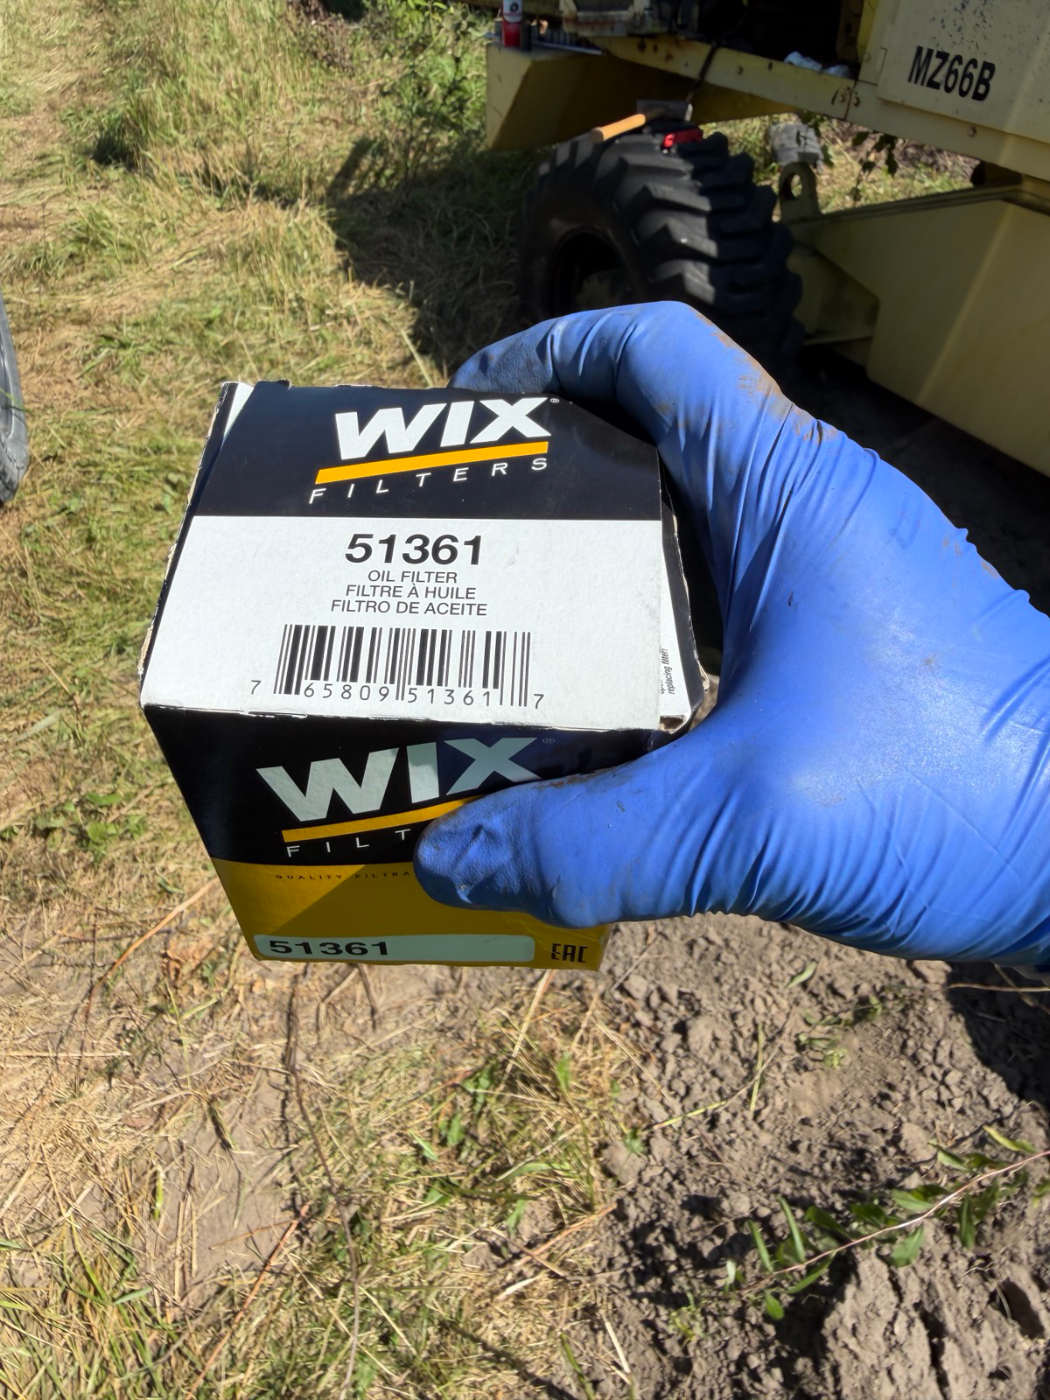
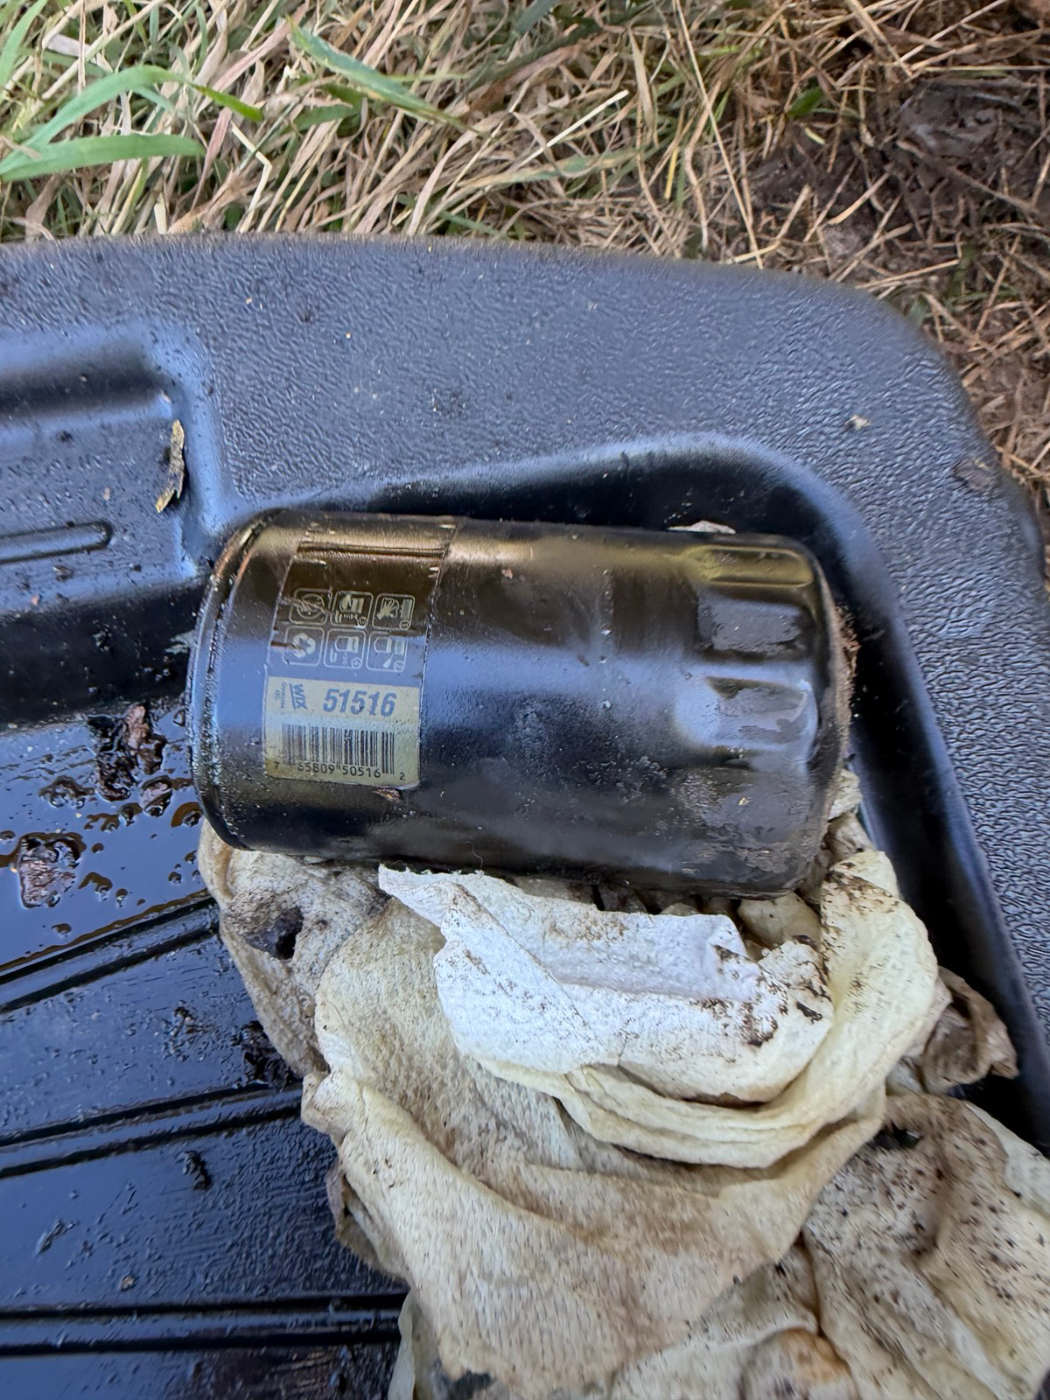
I took off a Wix 51516 filter for the oil and put on a Wix 51361.
I put the new filter on. It’ll probably have to be changed a couple of times anyway if I can get it going.
Findings — the filter gap is now closed
These are the numbers that no manual in this project could supply, because Grove carries the engine as a single assembly and the Nissan document is a service manual with no part numbers. They are now recorded on Specs:
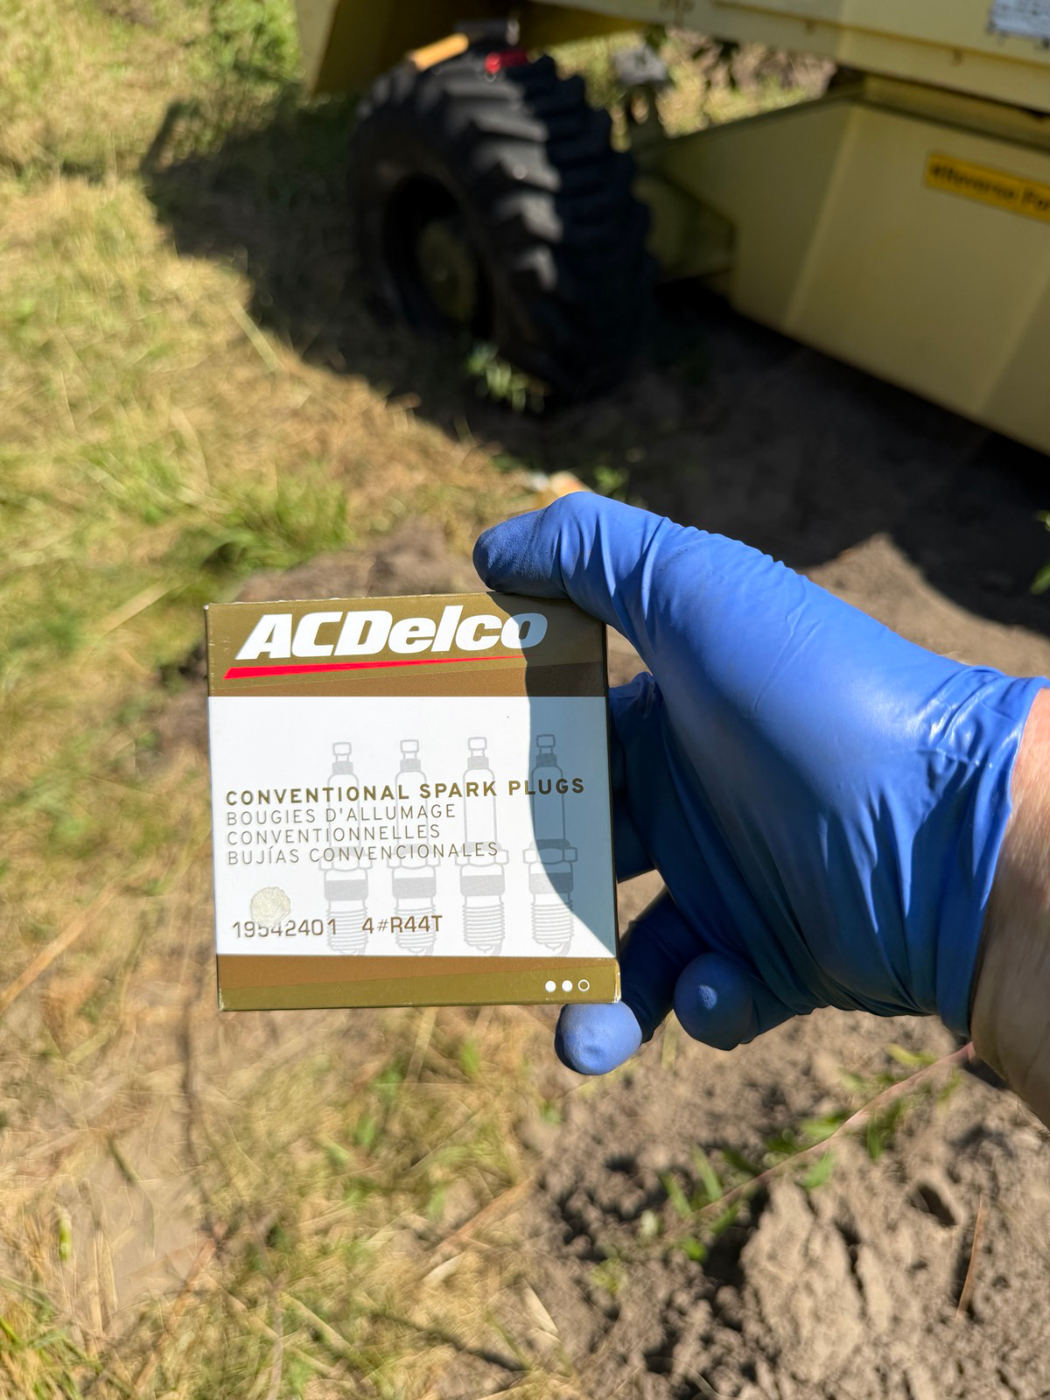
Item Part number Engine oil filter — fitted Wix 51361 (counter lookup against the A15) Engine oil filter — removed Wix 51516 (whatever a previous owner used) Fuel filter MicroGard 33023 (PTC# PG4777) Spark plugs ACDelco R44T, ×4 — matches what was in the engine Worth a sanity check on 51516 versus 51361. They are different filters, and the differences that matter on a spin-on are thread size, gasket diameter, bypass setting and the anti-drainback valve. The 51361 came from a lookup against the A15, so it is the one to trust; the 51516 was a previous owner’s choice and may or may not have been correct. If the new one threaded on and seated properly against the same mounting face, it’s fine.
“It’ll probably have to be changed a couple of times” is right — and more so than usual here. After a crankcase that held a gallon of water, the first oil fill is a flush, not a service. Plan on running fresh oil in, turning the engine, and dumping it again at least twice before treating any fill as real.
Where this leaves it
| Was | Now |
|---|---|
| Water in No. 2 bore only | Crankcase flooded — a gallon or more drained from the sump |
| Seizure assumed to be ring rust in No. 2 | Rusted bearing journals now rank at least as high. Penetrant down the plug holes doesn’t reach a main bearing |
| Engine oil filter part number unknown | Wix 51361 on, Wix 51516 off |
| Fuel filter, plugs unrecorded | MicroGard 33023, ACDelco R44T ×4 |
| Battery group size unknown | Group 31 footprint — verify vertical clearance before ordering |
| Wrench sizes unrecorded | Crank bolt 1-1/16 in, oil drain plug 7/8 in |
| Hydraulic pump not yet ruled out | Skip it. The engine no longer needs ruling in |
Next out: acetone to mix with the ATF and get the bores properly filled, fresh 5/16 line and clamps, finish draining the tank, and try the flywheel with a pry bar through the starter opening rather than the crank pulley bolt.
That’s the next visit. Two weeks of soak later, the pry bar through the starter opening worked exactly as planned, and the crank turned a full revolution by hand.
Back to My Story · 22 Aug 2026 · 07 Sep 2026 · Specs · Checklists · Research